
Set Up and Use Your Newsletter/Email Subscription Page
Help Contacts Stay Connected with Oily Updates and Inspiration!

Welcome to your personalized Newsletter Subscription Page! This landing page is your gateway to building stronger connections and keeping your audience informed with valuable tips, updates, and inspiration.
Here's how to set it up:
Create a Smart List: Build a Newsletter/Email Smart List to organize your subscribers and easily filter your communications to your subscribed contacts!
Personalize Your Webpage: Tailor the subscription landing page to reflect your unique style and message. (Optional)
Customize the Welcome Email: Edit the New Subscriber Welcome Email Template to greet your subscribers with a personal touch. (Optional, but recommended)
Share the Link: Grab the link to your subscription page and start sharing it on social media, in emails, or during events to grow your subscriber list effortlessly!
Haven't used email marketing yet?
How To Create a Newsletter/Email Smartlist:
Smart Lists make organizing your contacts for email campaigns easy and effective! They allow you to combine multiple filters into one saved list for quick access.
Here's how to create a Newsletter/Email Smart List:
Start with Your Downline: In the Contacts Tab, use the 'More Filters' button and search the 'Downline' tag (recommended when importing your 'All Accounts' report).
Add Additional Tags: Customize your Smart List by including these tags:
👌🏻ENGAGED: Includes contacts who have opted into your classes or text tips.
👌🏻SUBSCRIBED: Includes those who joined through your Newsletter Subscription through the webpage form or opted in via texts with the trigger words 'Here For It'
👌🏻EVENT LEAD: Adds leads from the In-Person + Vendor Event workflow, which are tagged when they text 'Feeling Lucky' or fill out your Event Lead Magnet webpage form.
Imported External Lists: Bring contacts from other platforms, or events and tag them, and include that in your Smart List.
Make a Smart List Step-by-Step
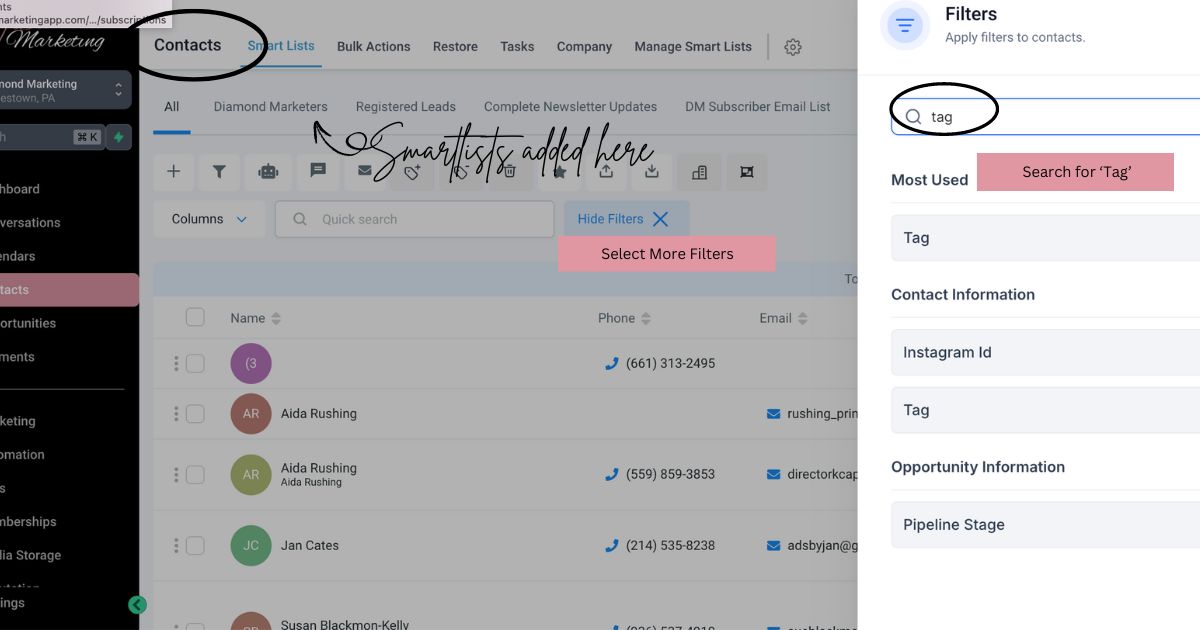
Head to the Contacts Screen
Select 'More Filters'
Search 'Tag'
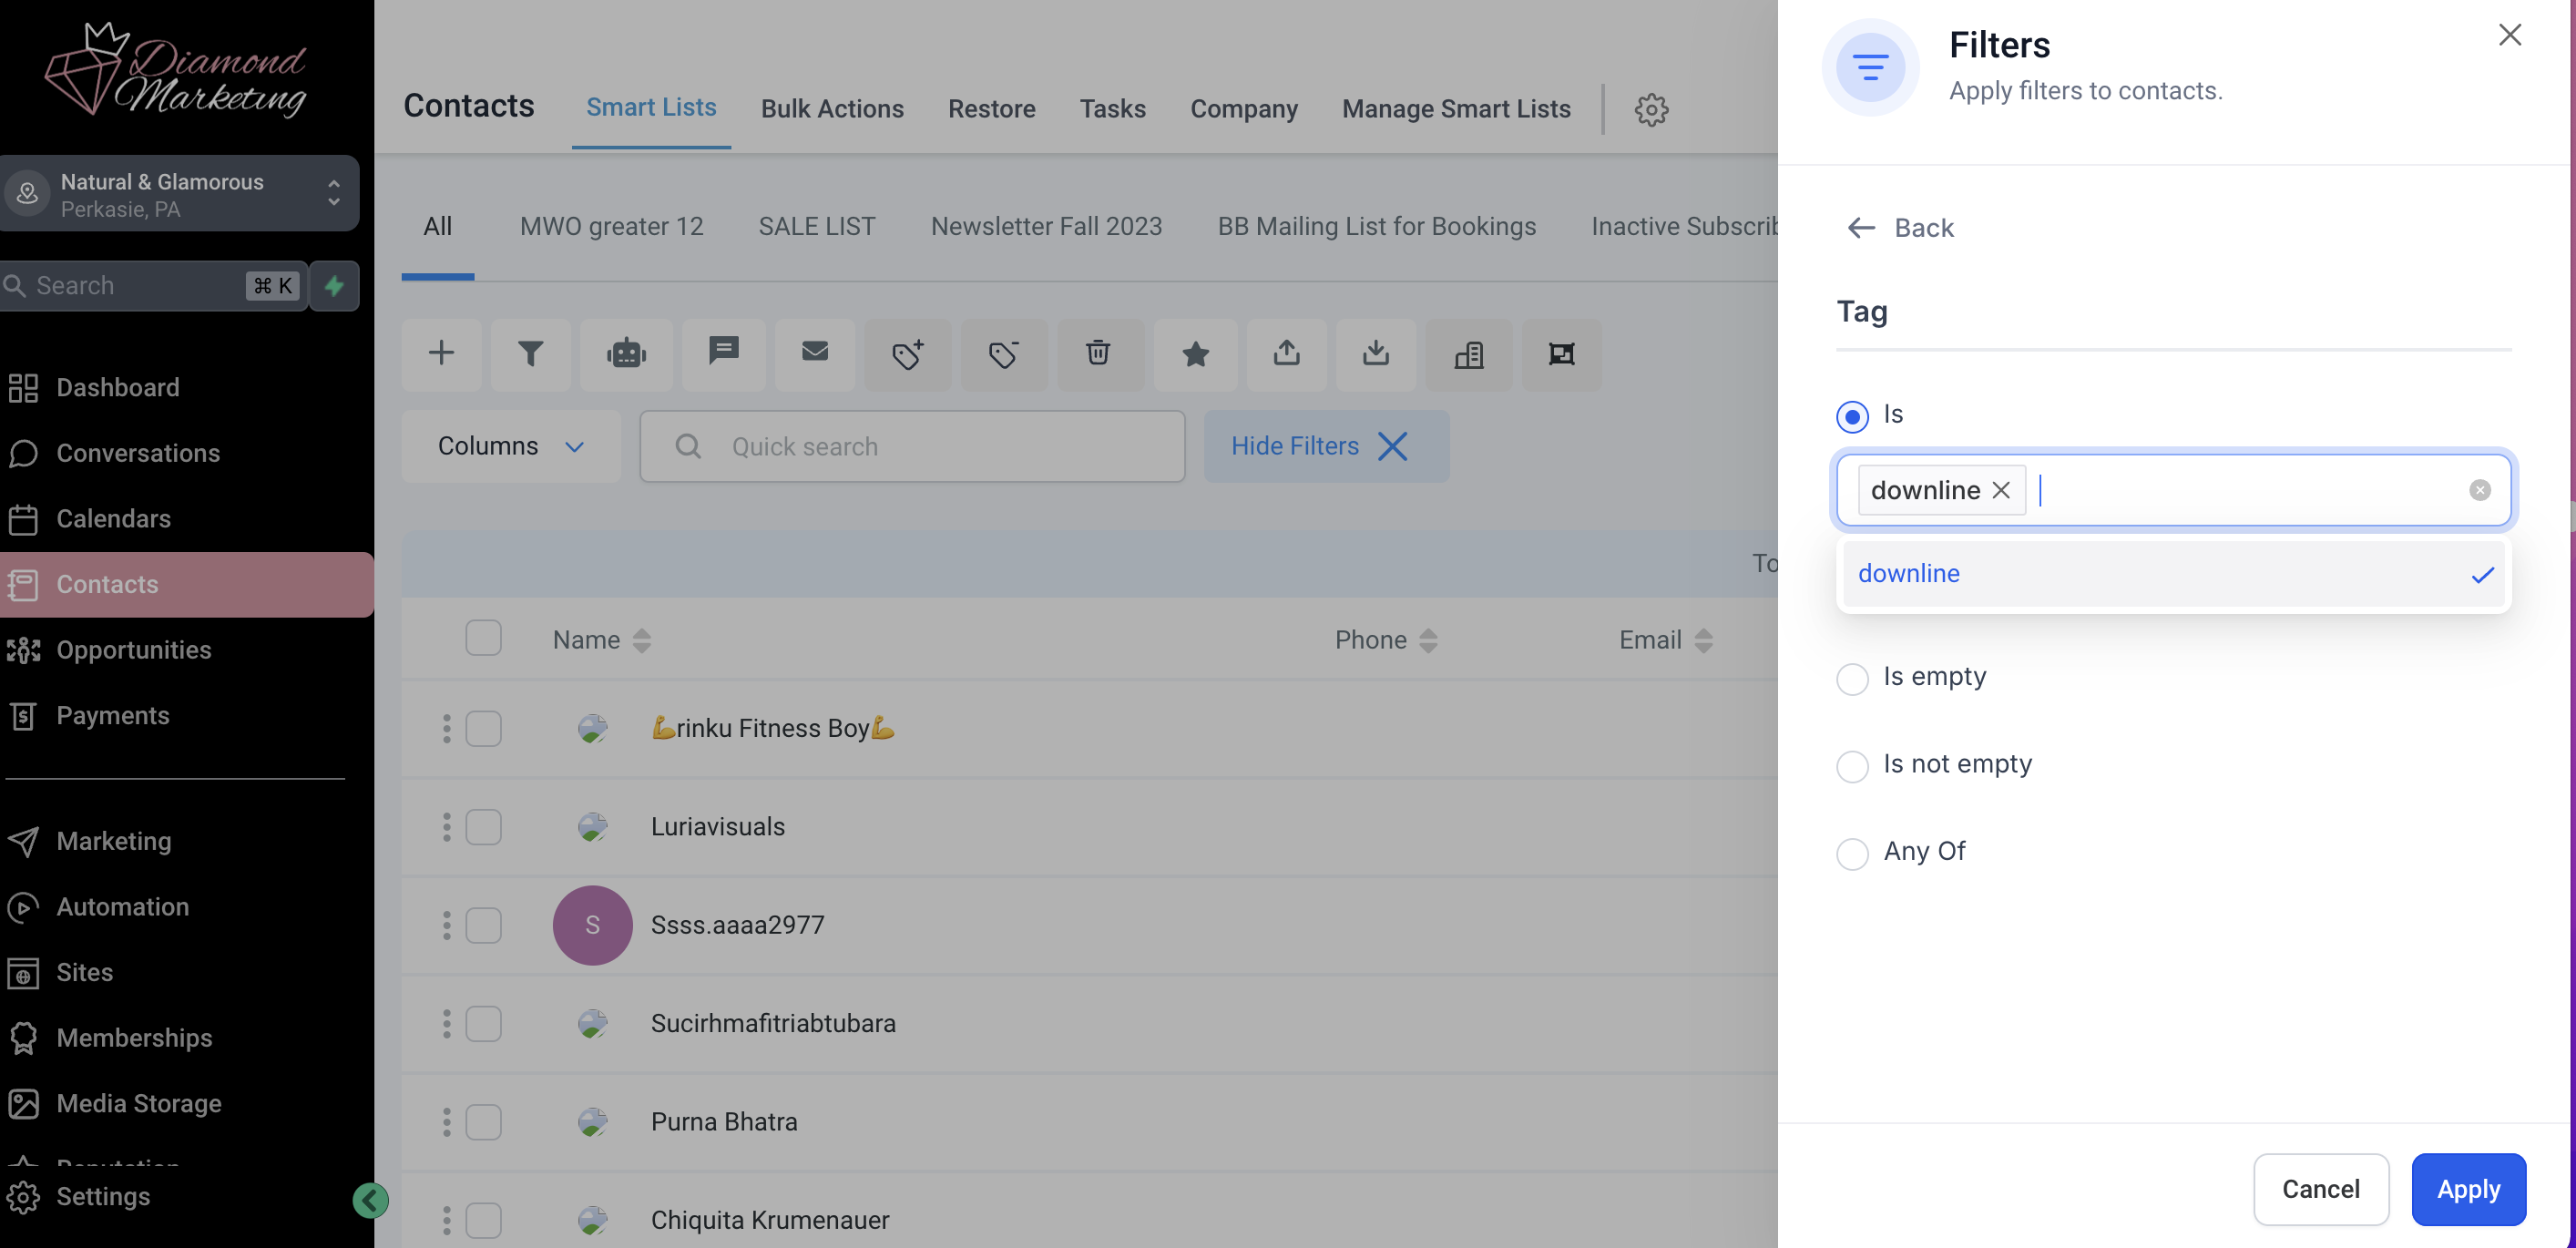
Select your Downline Tag
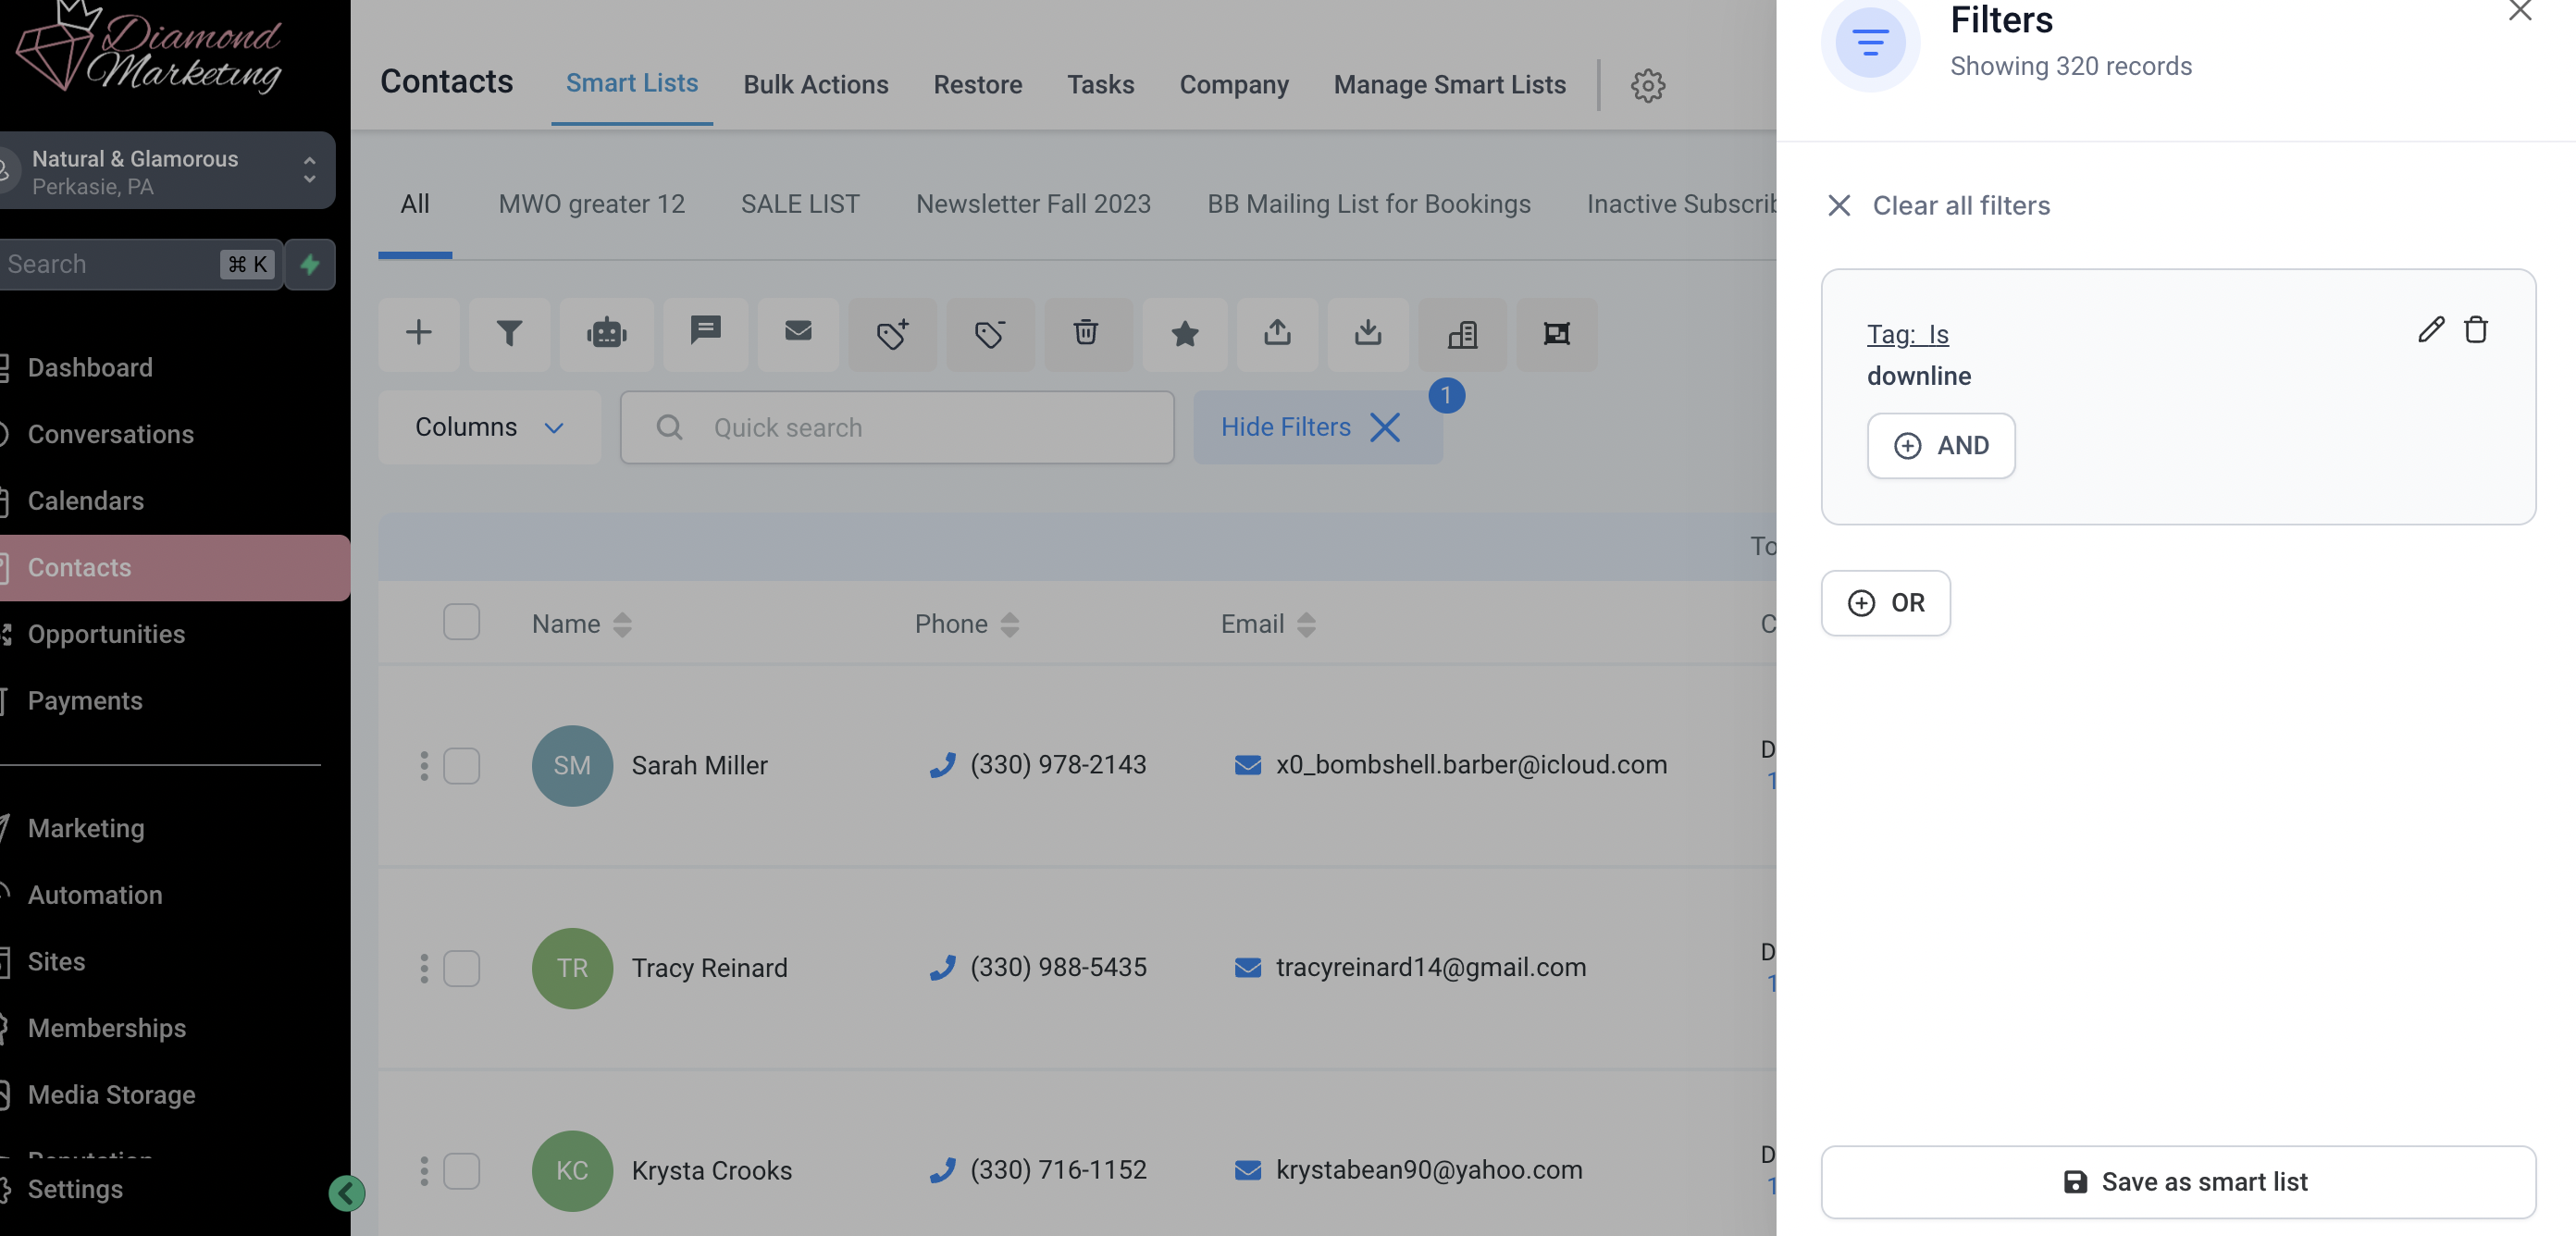
Click Apply
Click AND
Now you can add additional Tags or Filters (for example: Subscribed, Engaged, Event Lead)
Click Save as smart list and name the new smart list
The Smart List will be added to the links next to 'ALL' above the Action Menu
Keep Your Smart List Up-To-Date
Import an All Accounts Report Monthly:
Select All Accounts in your VO
Include 7 Fields: Customer Type, Subscriptions, Email, Address, Phone and MWO, Name
Download the Report
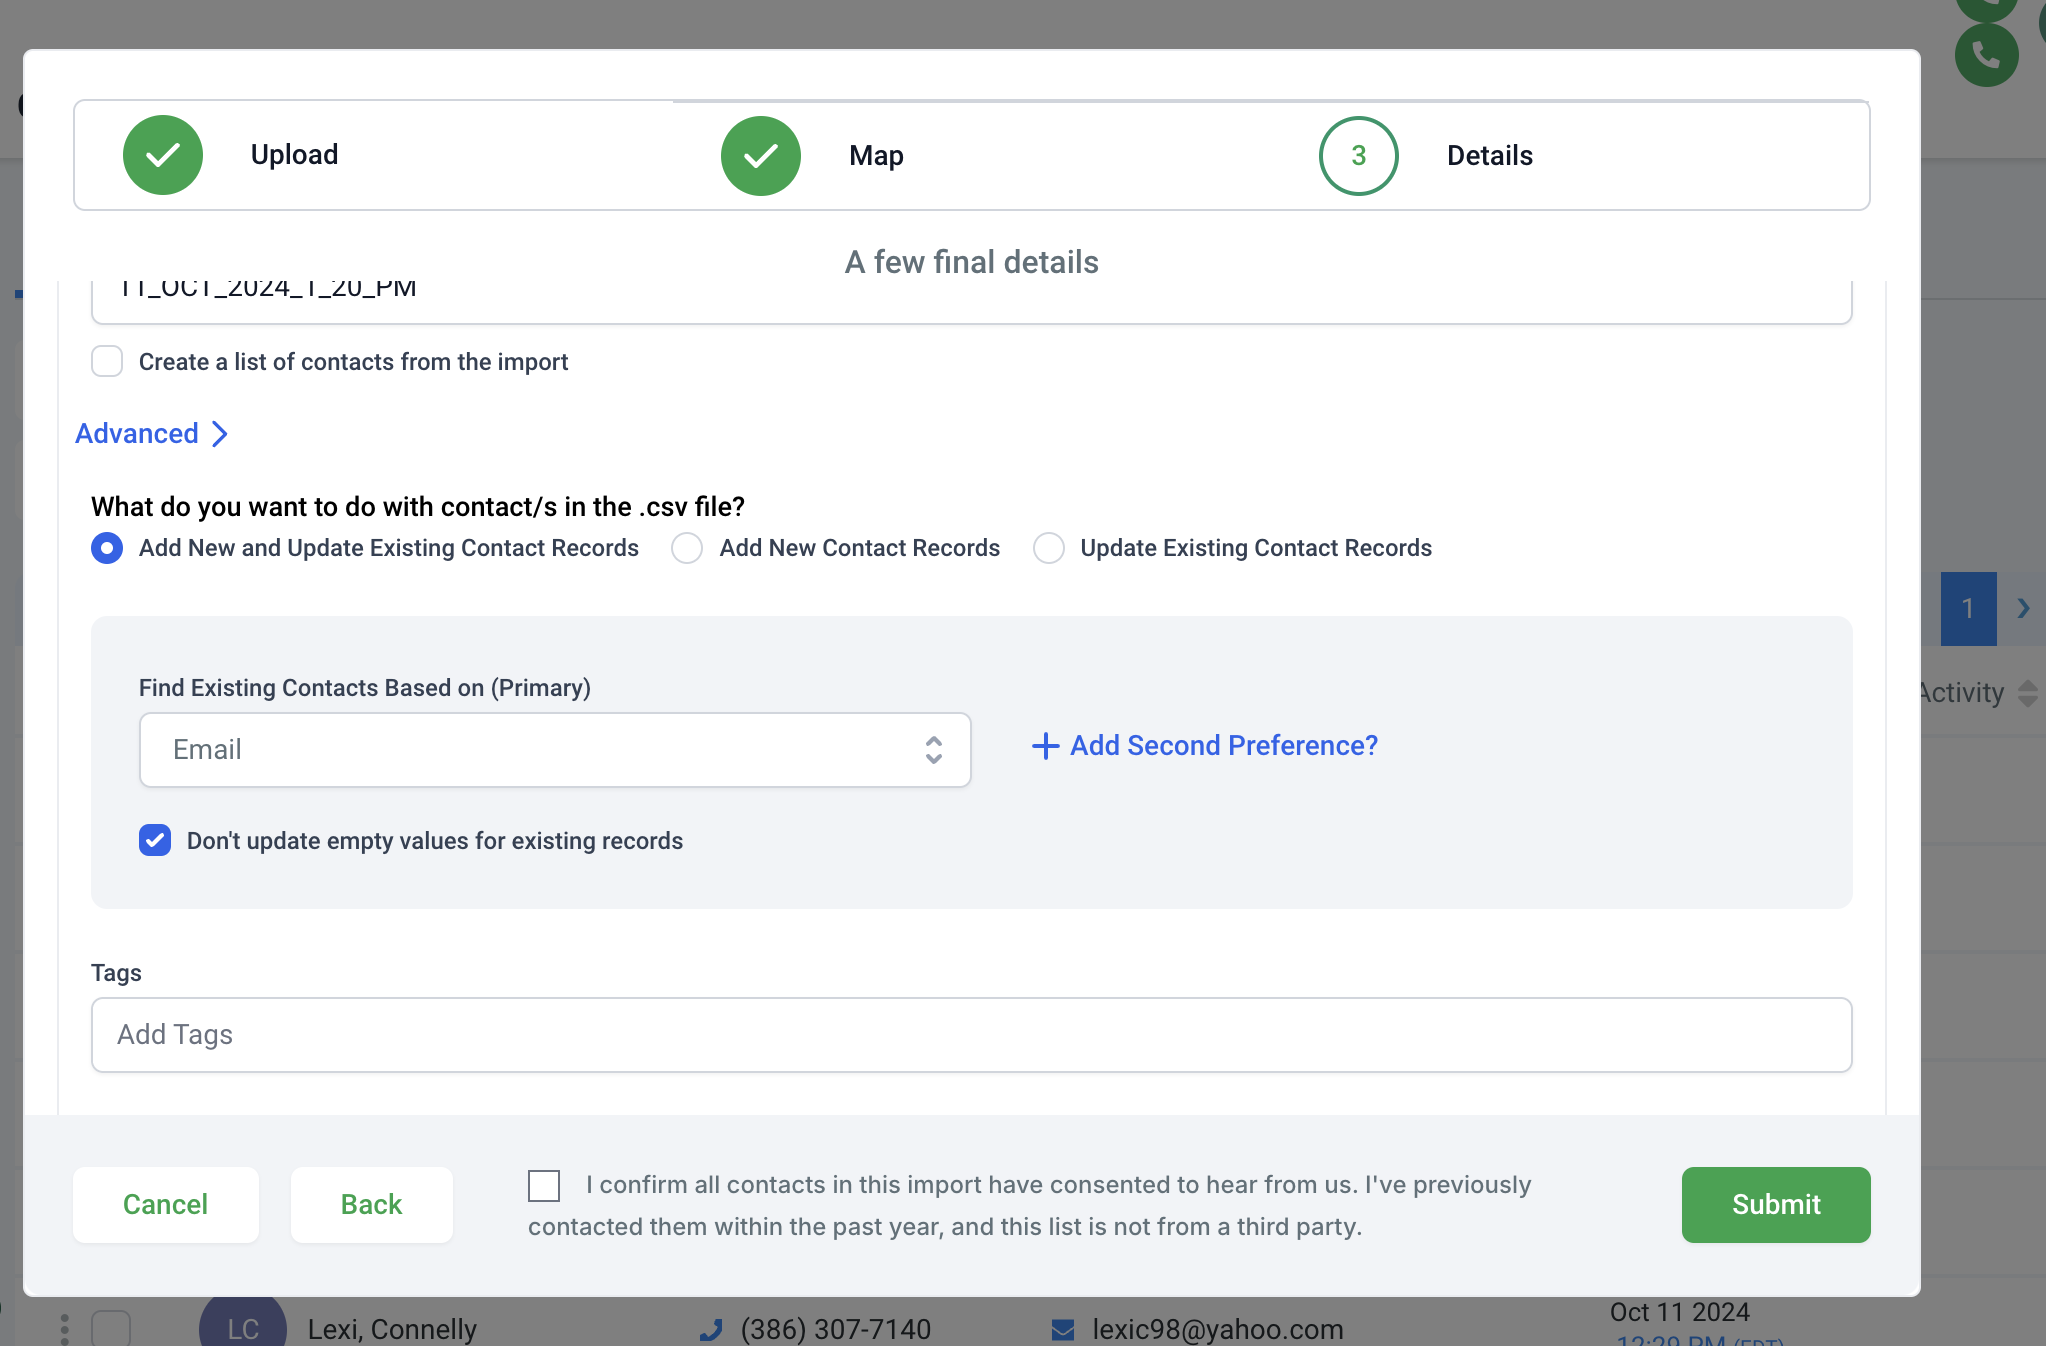
Inside DM, in the Contact Screen select the Import Icon
Map the 7 fields using Process Date for Subscriptions and Customer/Brand Partner for Customer Type
On the Final Step, Open Advanced and Tag this import as 'Downline' to update your downline list with that month's new customers.
Your smart list will then auto-populate with new customers
Full lesson here
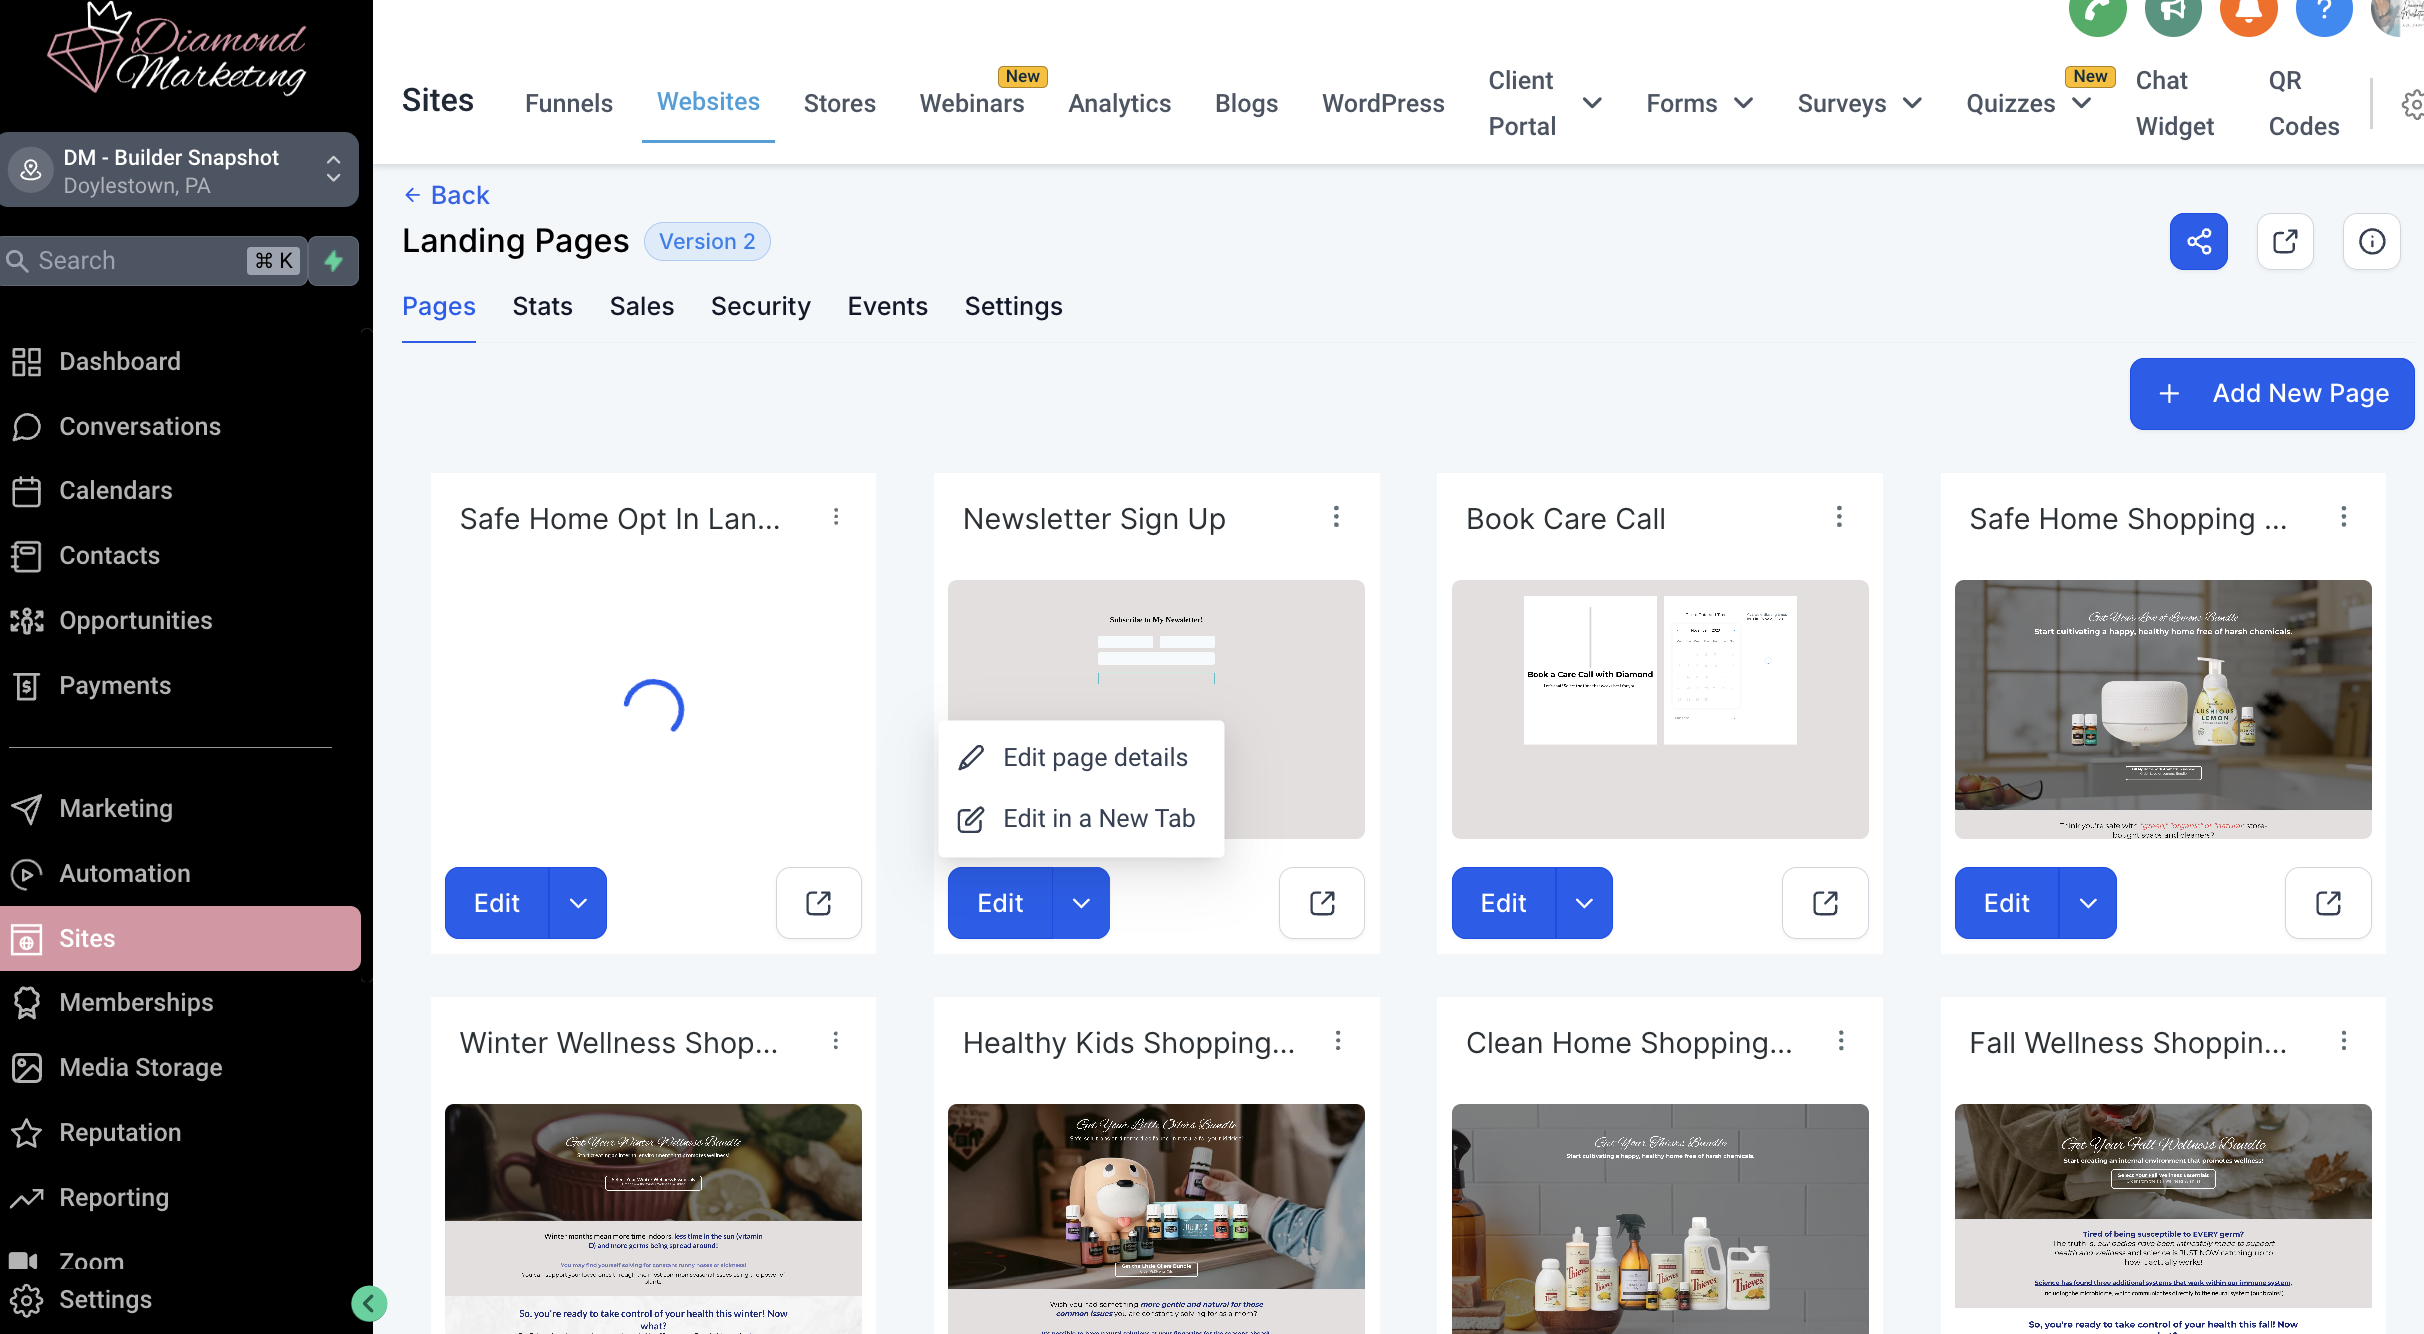
Personalize The Landing Page Template
Navigate to the Marketing Tab and select Websites and click inside your Landing Pages
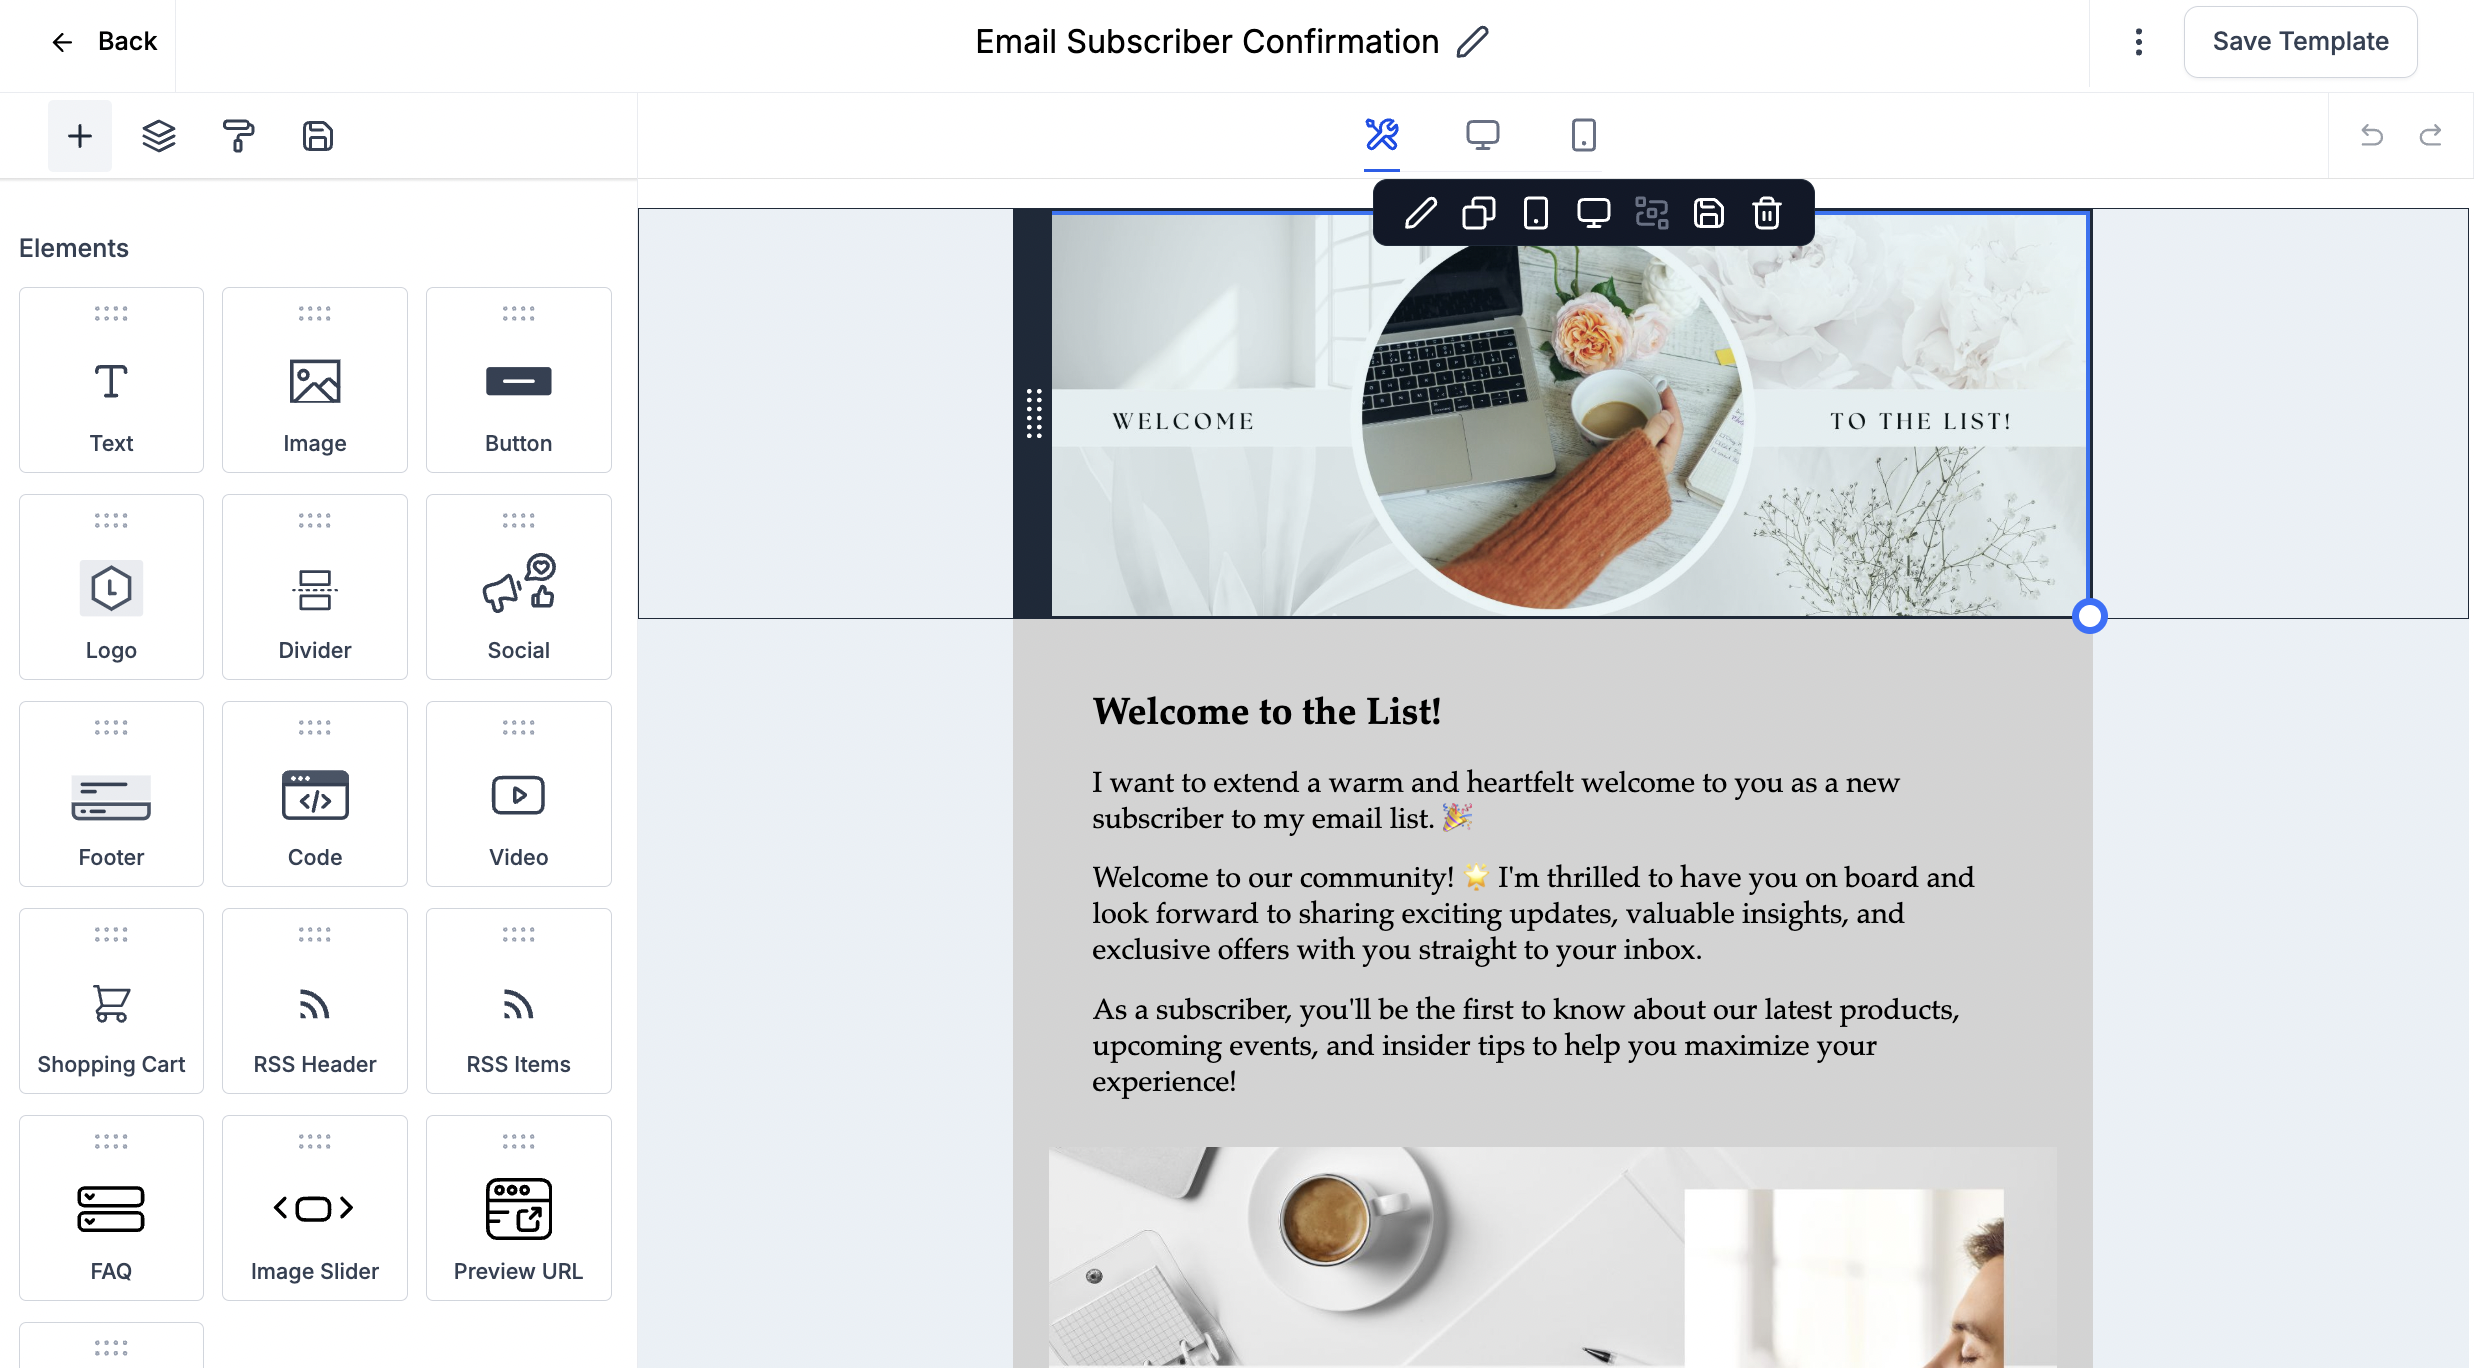
Select the Edit button on the Newsletter Sign Up Page
Select the text element to Edit the words "Subscribe to My Newsletter!
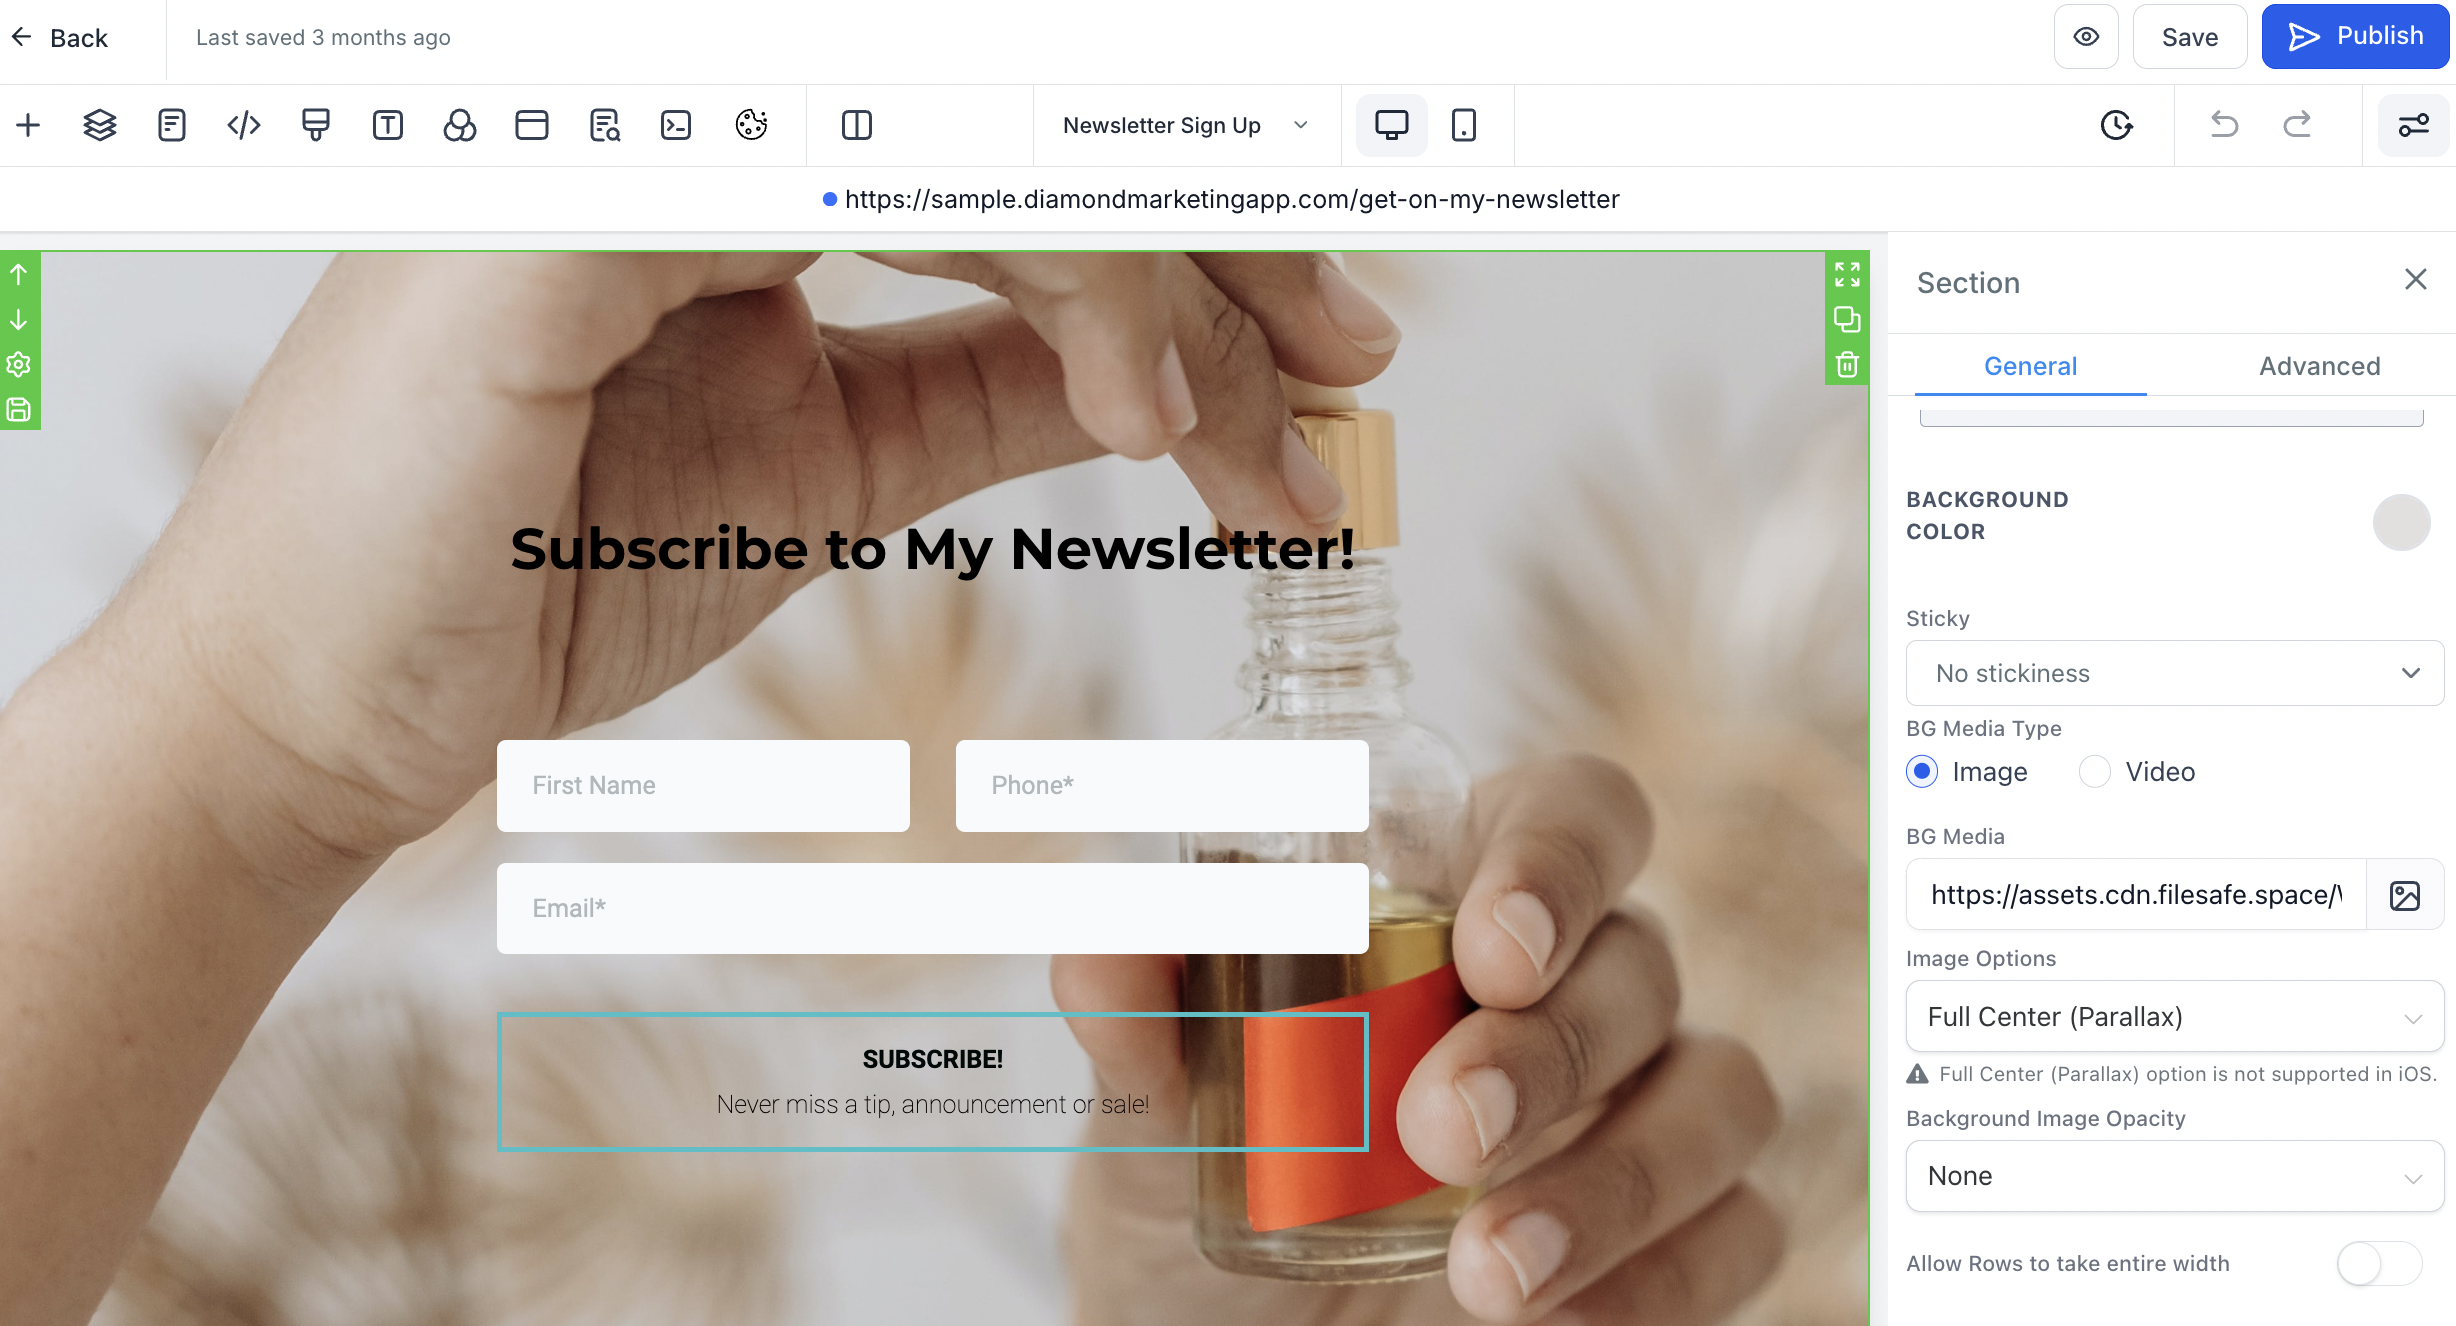
Select the Photo element to edit
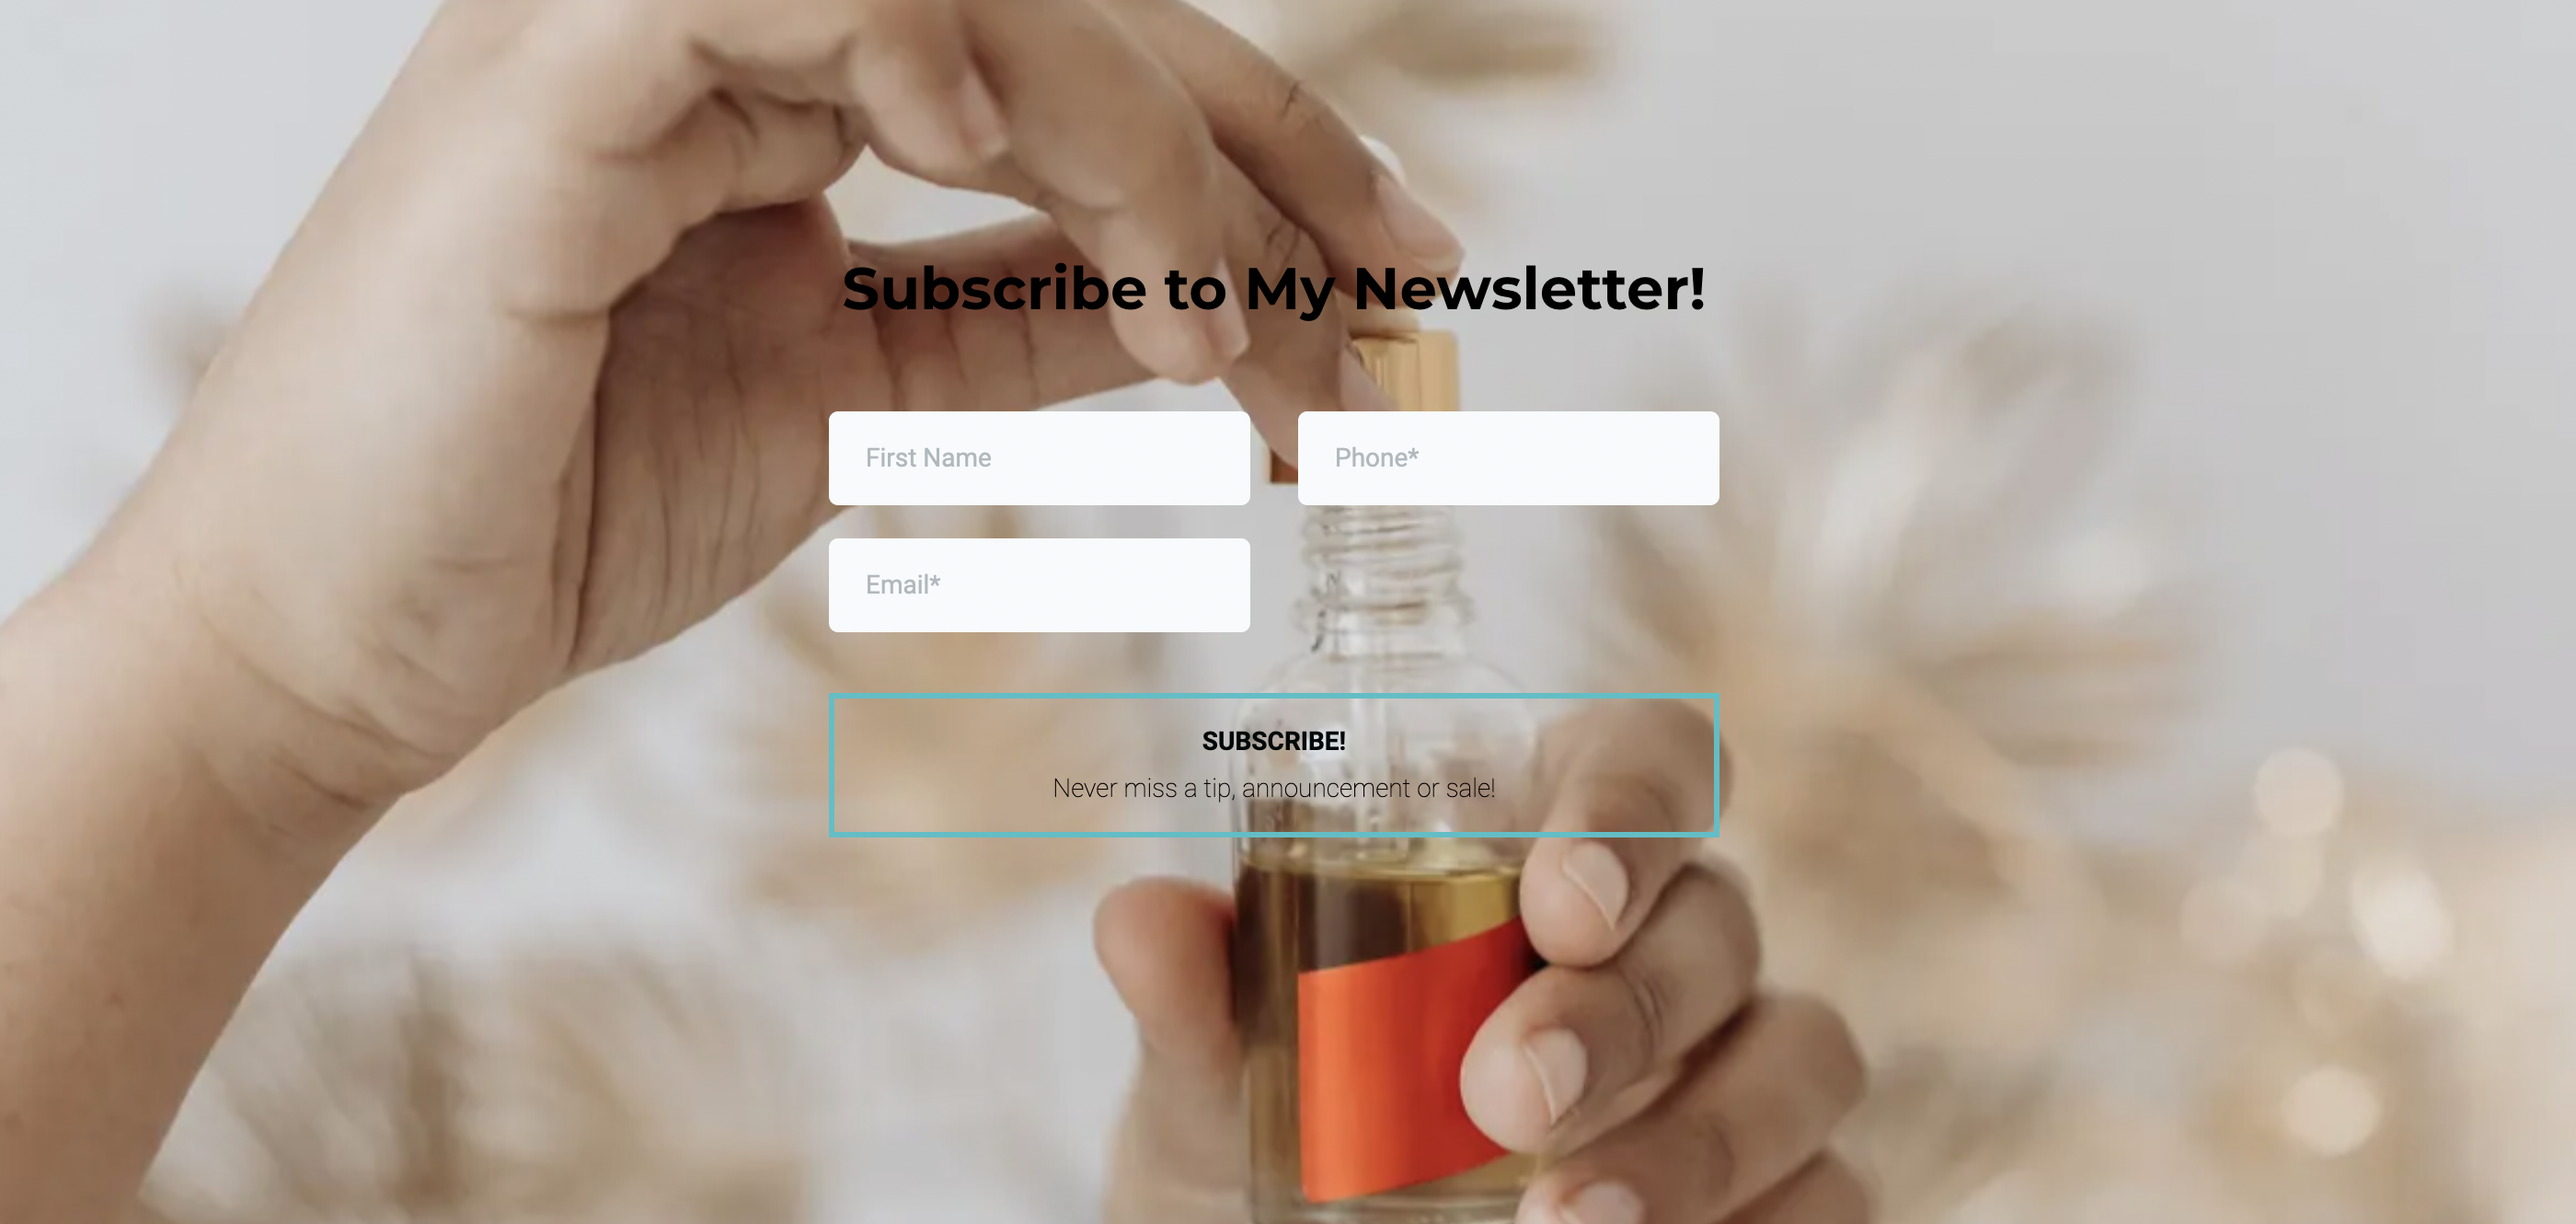
Background: Take out the background image by deleting the link next to the photo icon
Click Background color to select a solid background color
Click the Photo Icon to replace the image
Select + in the top right and drag in a image element to add a picture above or below your form
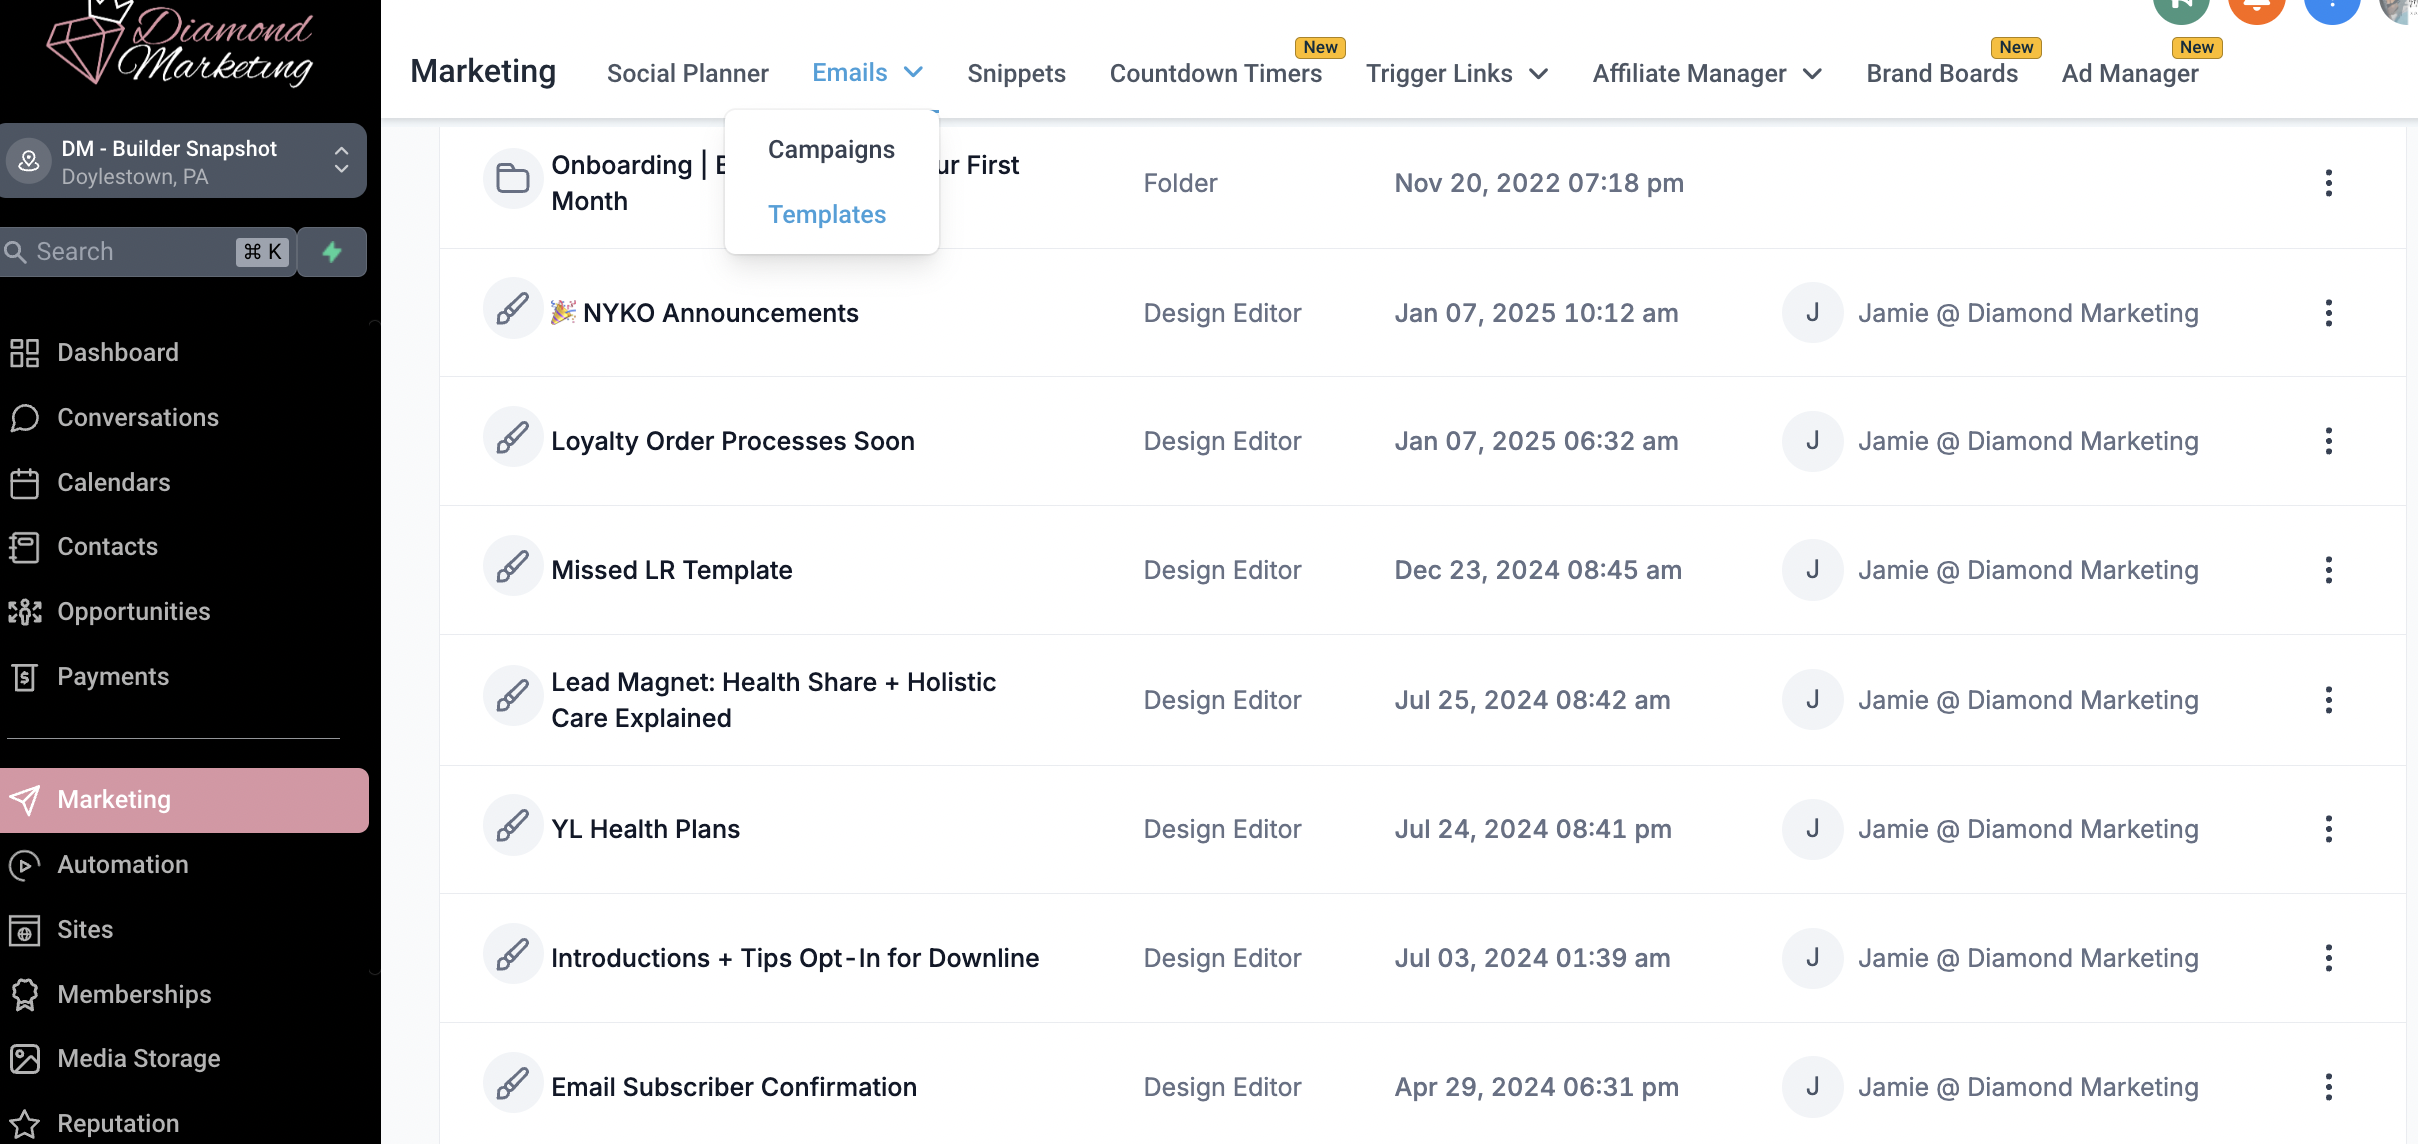
Personalize The Email Subscriber Confirmation Email Template
Personalize Your Emails: Video lesson here.
Go to the 'Marketing' Tab: Select 'email' and select 'templates' from the top drop down
Select the Template: Email Subscriber Confirmation
Personalize: Add your banner, signature or team announcements
Click 'Save'
Suggestion: (See tutorial below for how to do each!)
Add your team email header to the top and and email signature graphic to the bottom of each email!
Leader & Mentor Plan Subscribers, add your webpage links to the CTA (Call to Action) graphics for your subscribers to more easily opt-into the classes!
Add a Banner
Click + to add an Element
Drag in a photo element
Click the pencil Icon on the image and select your banner graphic
Select Upload from within the Media Storage to upload a new photo
Add an Email Signature
Click + to add an Element
Drag in a photo element
Click the pencil Icon on the image and select your signature graphic
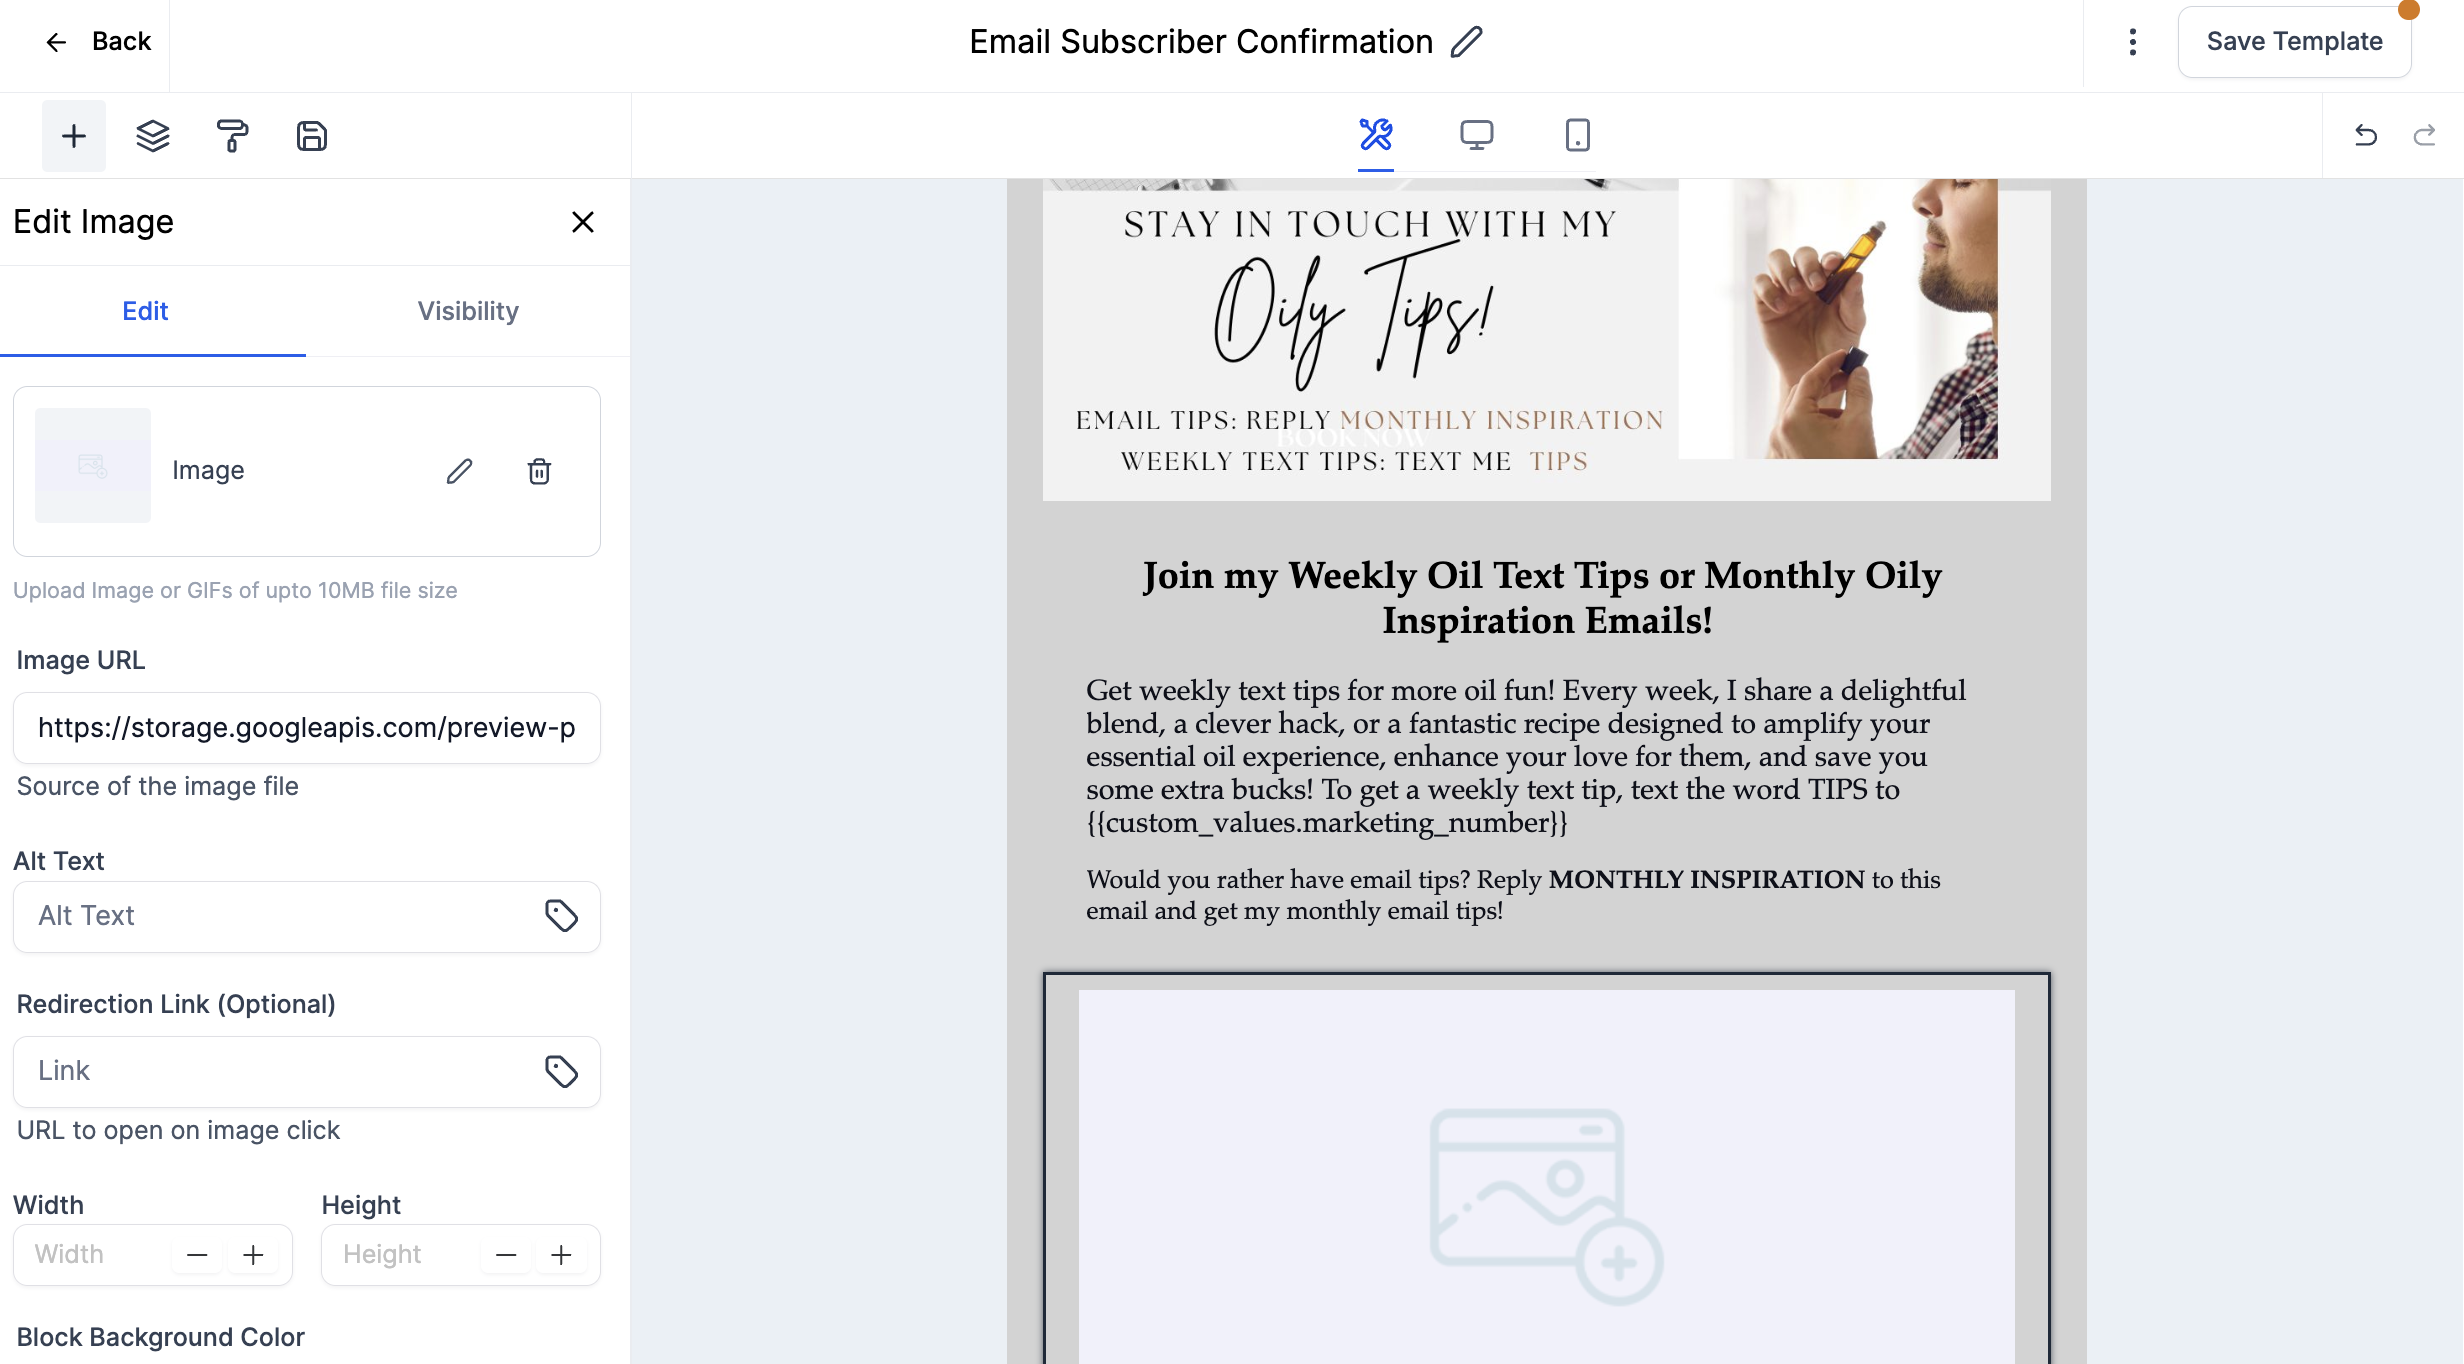
Add Webpage Links into CTA (Call-to-Action) Graphics
Webpages are included for Leader & Mentor Plan Subscribers
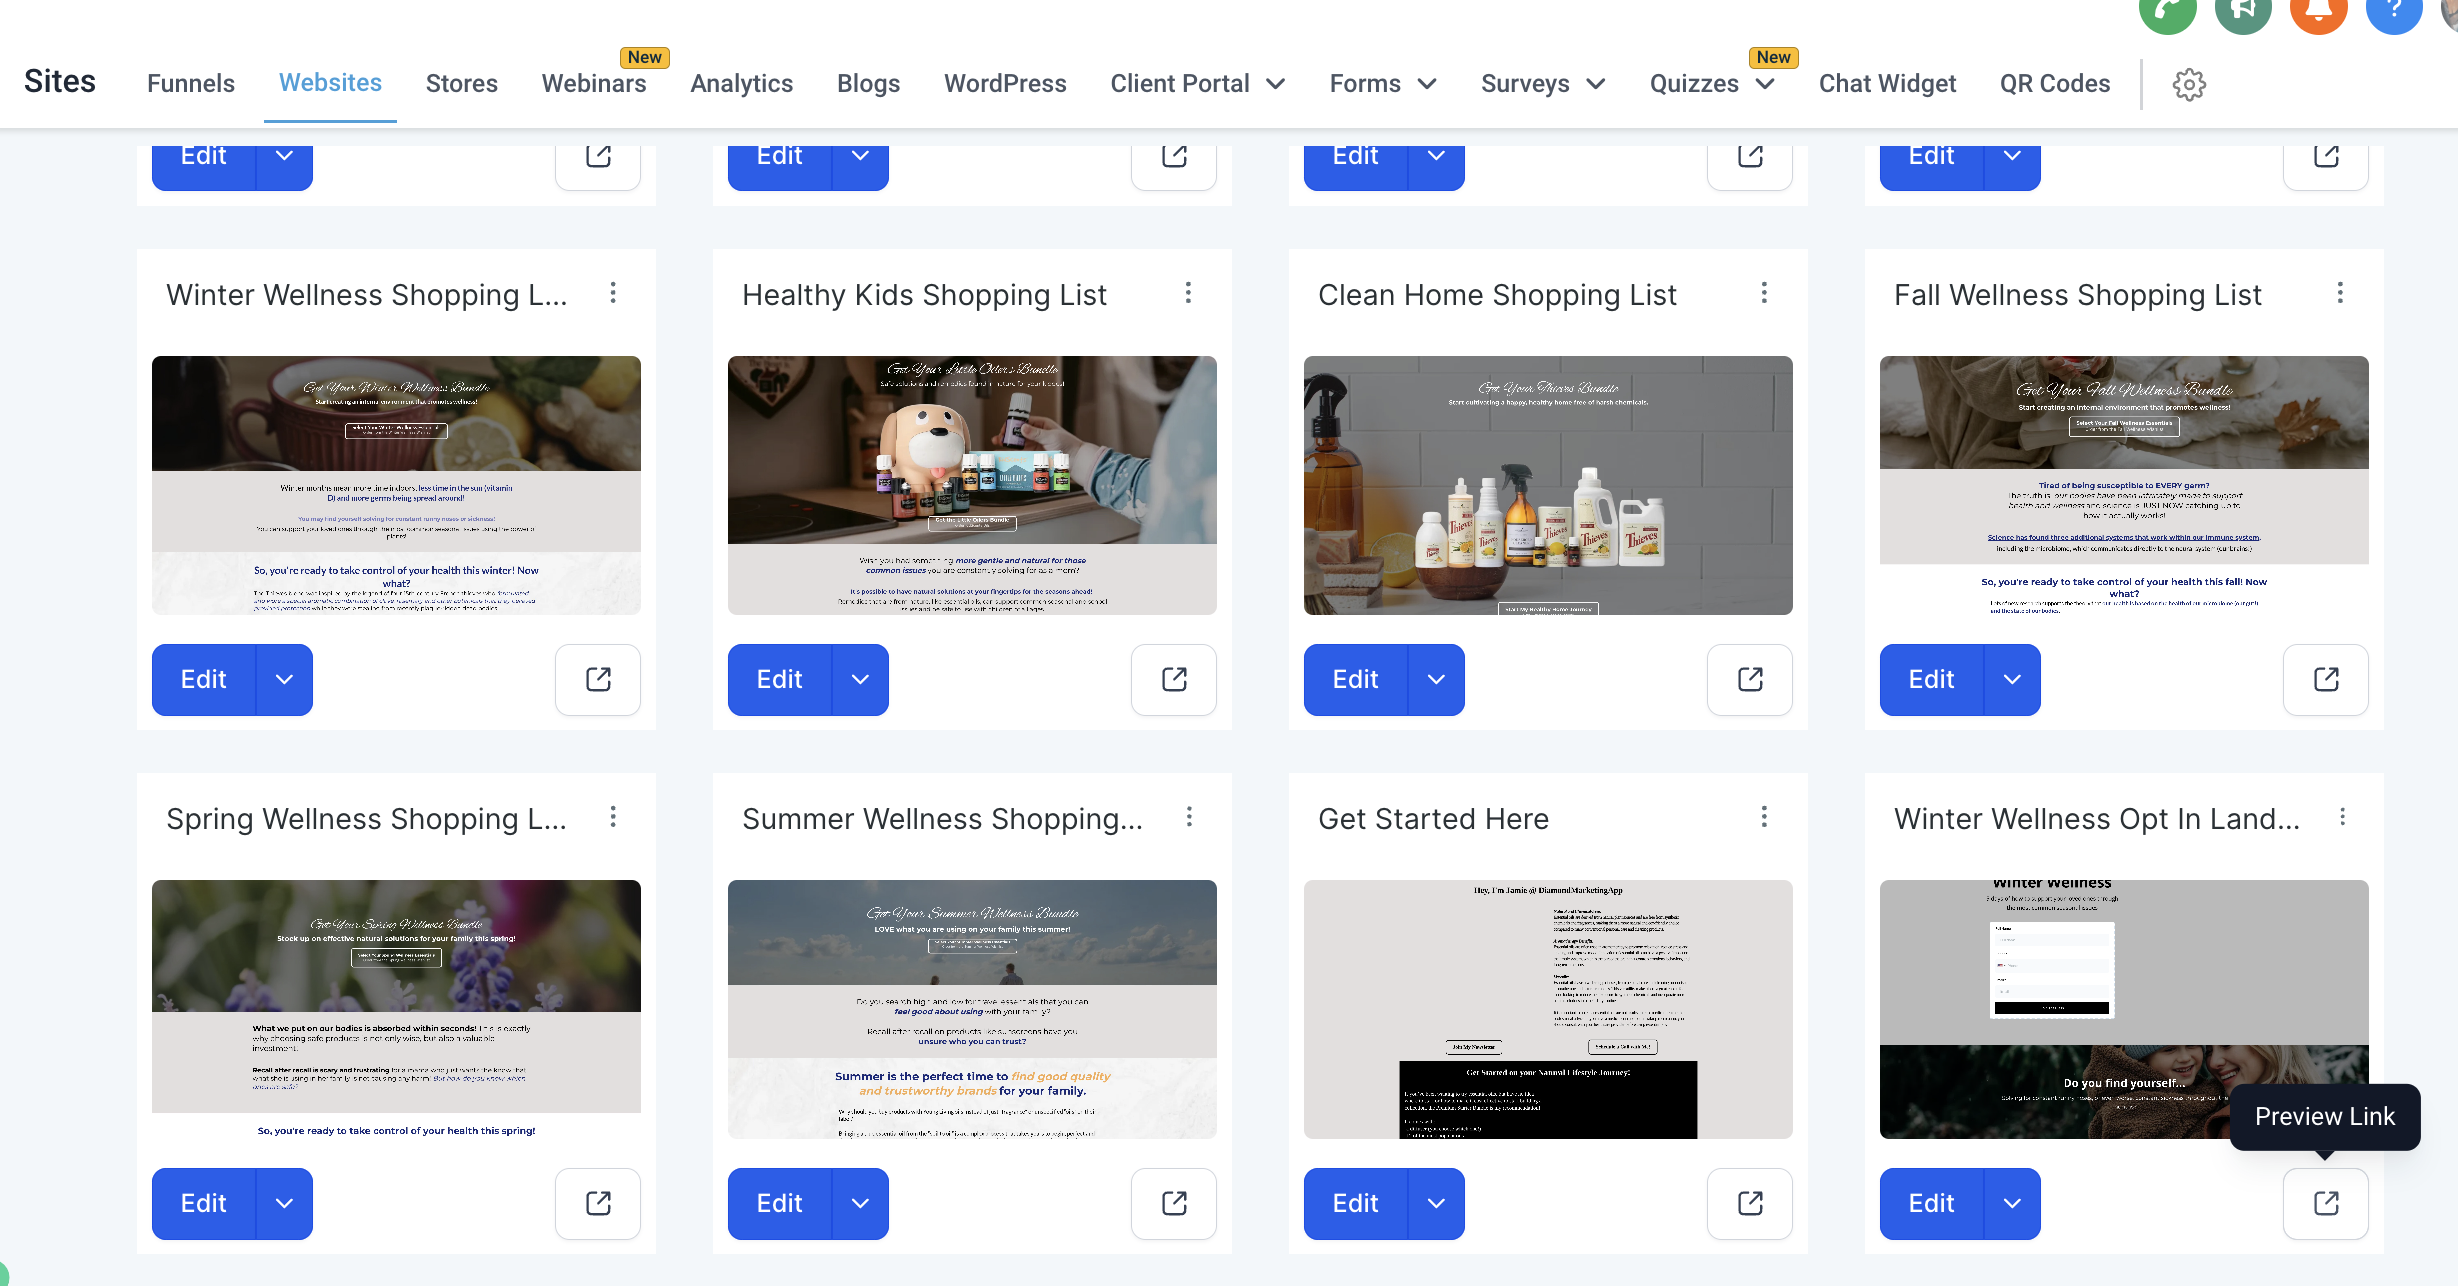
Within the SITES tab, click Websites and then click Landing Pages
Click on the Preview Icon of the Opt-In Page you'd like to use. Opt-In pages include forms for contacts to fill out that add them directly to the text class. This email template has a Weekly Tips Call-to-Action
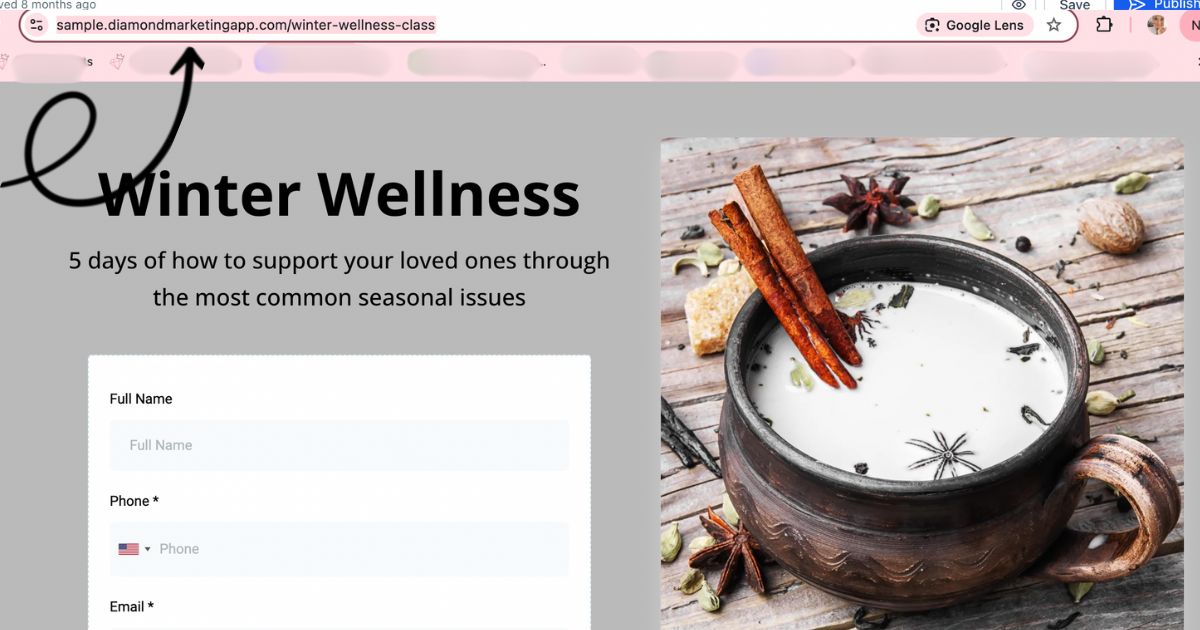
Copy the url in the preview page that opens
Add this link to the Tips Call-to-Action graphic in the box: Redirection Link (Optional)
Link Your Email/Newsletter Subscription Page
After the Email/Newsletter Smart List and email and webpage templates have been personalized (if you choose) you can navigate back to the SITES tab and head into your Landing Pages
Click the Preview Icon on your Newsletter Sign Up Page
Share the Link
Diamond Marketing is a customer care platform design for Young Living Brand Partners. All content provided by Diamond Marketing is the property of Diamond Marketing App LLC and cannot be copied or redistributed outside of Diamond Marketing. without prior consent.