
Use + Create Your Own Forms, Form Triggers, and Lead Magnets
Capture contacts and spark action with ready-to-use forms and lead magnets.
Use pre-made or custom options to trigger workflows and grow your list effortlessly.
Diamond Marketing makes it easy to get started with forms by providing
pre-made forms that are ready to use and seamlessly connect to the class workflows.
Here’s everything you need to know about the pre-loaded forms and how they integrate into your business PLUS how to create your own forms!
Where to Find Forms:
Navigate to the Sites tab in your Diamond Marketing dashboard.
Select Forms to view a library of pre-designed forms created specifically for class sign-ups or opt-ins.
List of Forms:
The below forms are ready to share!
If you're on a Webpage Subscription (Leader or Mentor Plan), head to the Websites tab to find your form embedded inside its landing page template—just copy the link and share!
If you're on the Builder Plan, you can grab the direct form link and start sharing it right away—no webpage needed.
How Pre-Made Forms Work:
For Leader & Mentor Plan subscribers, these forms are directly linked to Landing Pages found in your Landing Pages in the Sites tab.
For all subscribers, our pre-made forms are already integrated into our workflows, which you can view in the Automation tab under each classes 'CONFIRMATION' Workflow. Click on any class folder and then then CONFIRMATION Workflow to see the form linked as a trigger for the class.
When a contact fills out a form it will trigger an automated action like sending emails or sending a text class from one of our pre-loaded workflows.
Leader & Mentors subscribers will link their webpages for contacts to use the forms. Builder Plan subscribers will link the form directly. See below for step-by-step on linking forms and webpages.
Benefits of Pre-Made Forms:
Save Time: Skip the hassle of creating forms from scratch.
Seamless Integration: Pre-made forms are already connected to workflows, making it easy to manage sign-ups and interactions.
Customizable: You can tweak these forms to align with your branding, messaging, or class objectives.
Complete List of Forms Included:
Class Opt-In Forms:
How to Share Your Class Opt-Ins:
✅ Builder Subscribers– Share the form link directly in emails, texts, or social media. Since Builder plans do not include web pages, you’ll use the form itself to collect sign-ups.
✅ Leader & Mentor Plan Subscribers– Share the webpage link where the form is embedded. These plans include dedicated landing pages for a more polished and branded experience.
✅ Email Newsletters– Add the correct link (form or webpage) inside your CTA (Call-to-Action) graphics so contacts can easily sign up for classes.
✅ Social Media & Texts– Post the link in your stories, captions, or messages to invite more contacts to a class.
✅ Automated Social Media DMs (ManyChat for Leader & Mentor Plans)– If you’ve set up Social Media Integration, followers can DM you trigger words to receive these links automatically.
✅ Your "Get Started Here" Page (Leader & Mentor Plans) – This page includes all your class links in one spot. Pin it as a featured post in a Facebook group or add it to your Instagram bio for easy access!
Below, you’ll find a sample of each webpage and form. Scroll down to learn how to grab the links for your specific opt-in pages!
Wellness for Less (Loyalty Rewards) Class
14-Day Reset Complete Guide Email and Daily Reminders
If you are on the Modern + Co Team: You also have these additional Opt-Ins for Annie's exclusive classes:
Not on the M+Co Team and want one of these classes? Purchase them here.
(These classes are one time purchases and you will have the classes for the life of your subscription)
Lead-Magnet Forms:

A Lead Magnet is a valuable resource or incentive offered for free to attract potential customers (or leads) and encourage them to share their contact information, such as their email address or phone number.
Lead magnets are often used in marketing to build an engaged list of contacts who are genuinely interested in your content, products, or services. They provide a win-win scenario: you gain a lead, and the lead gets something valuable in return.
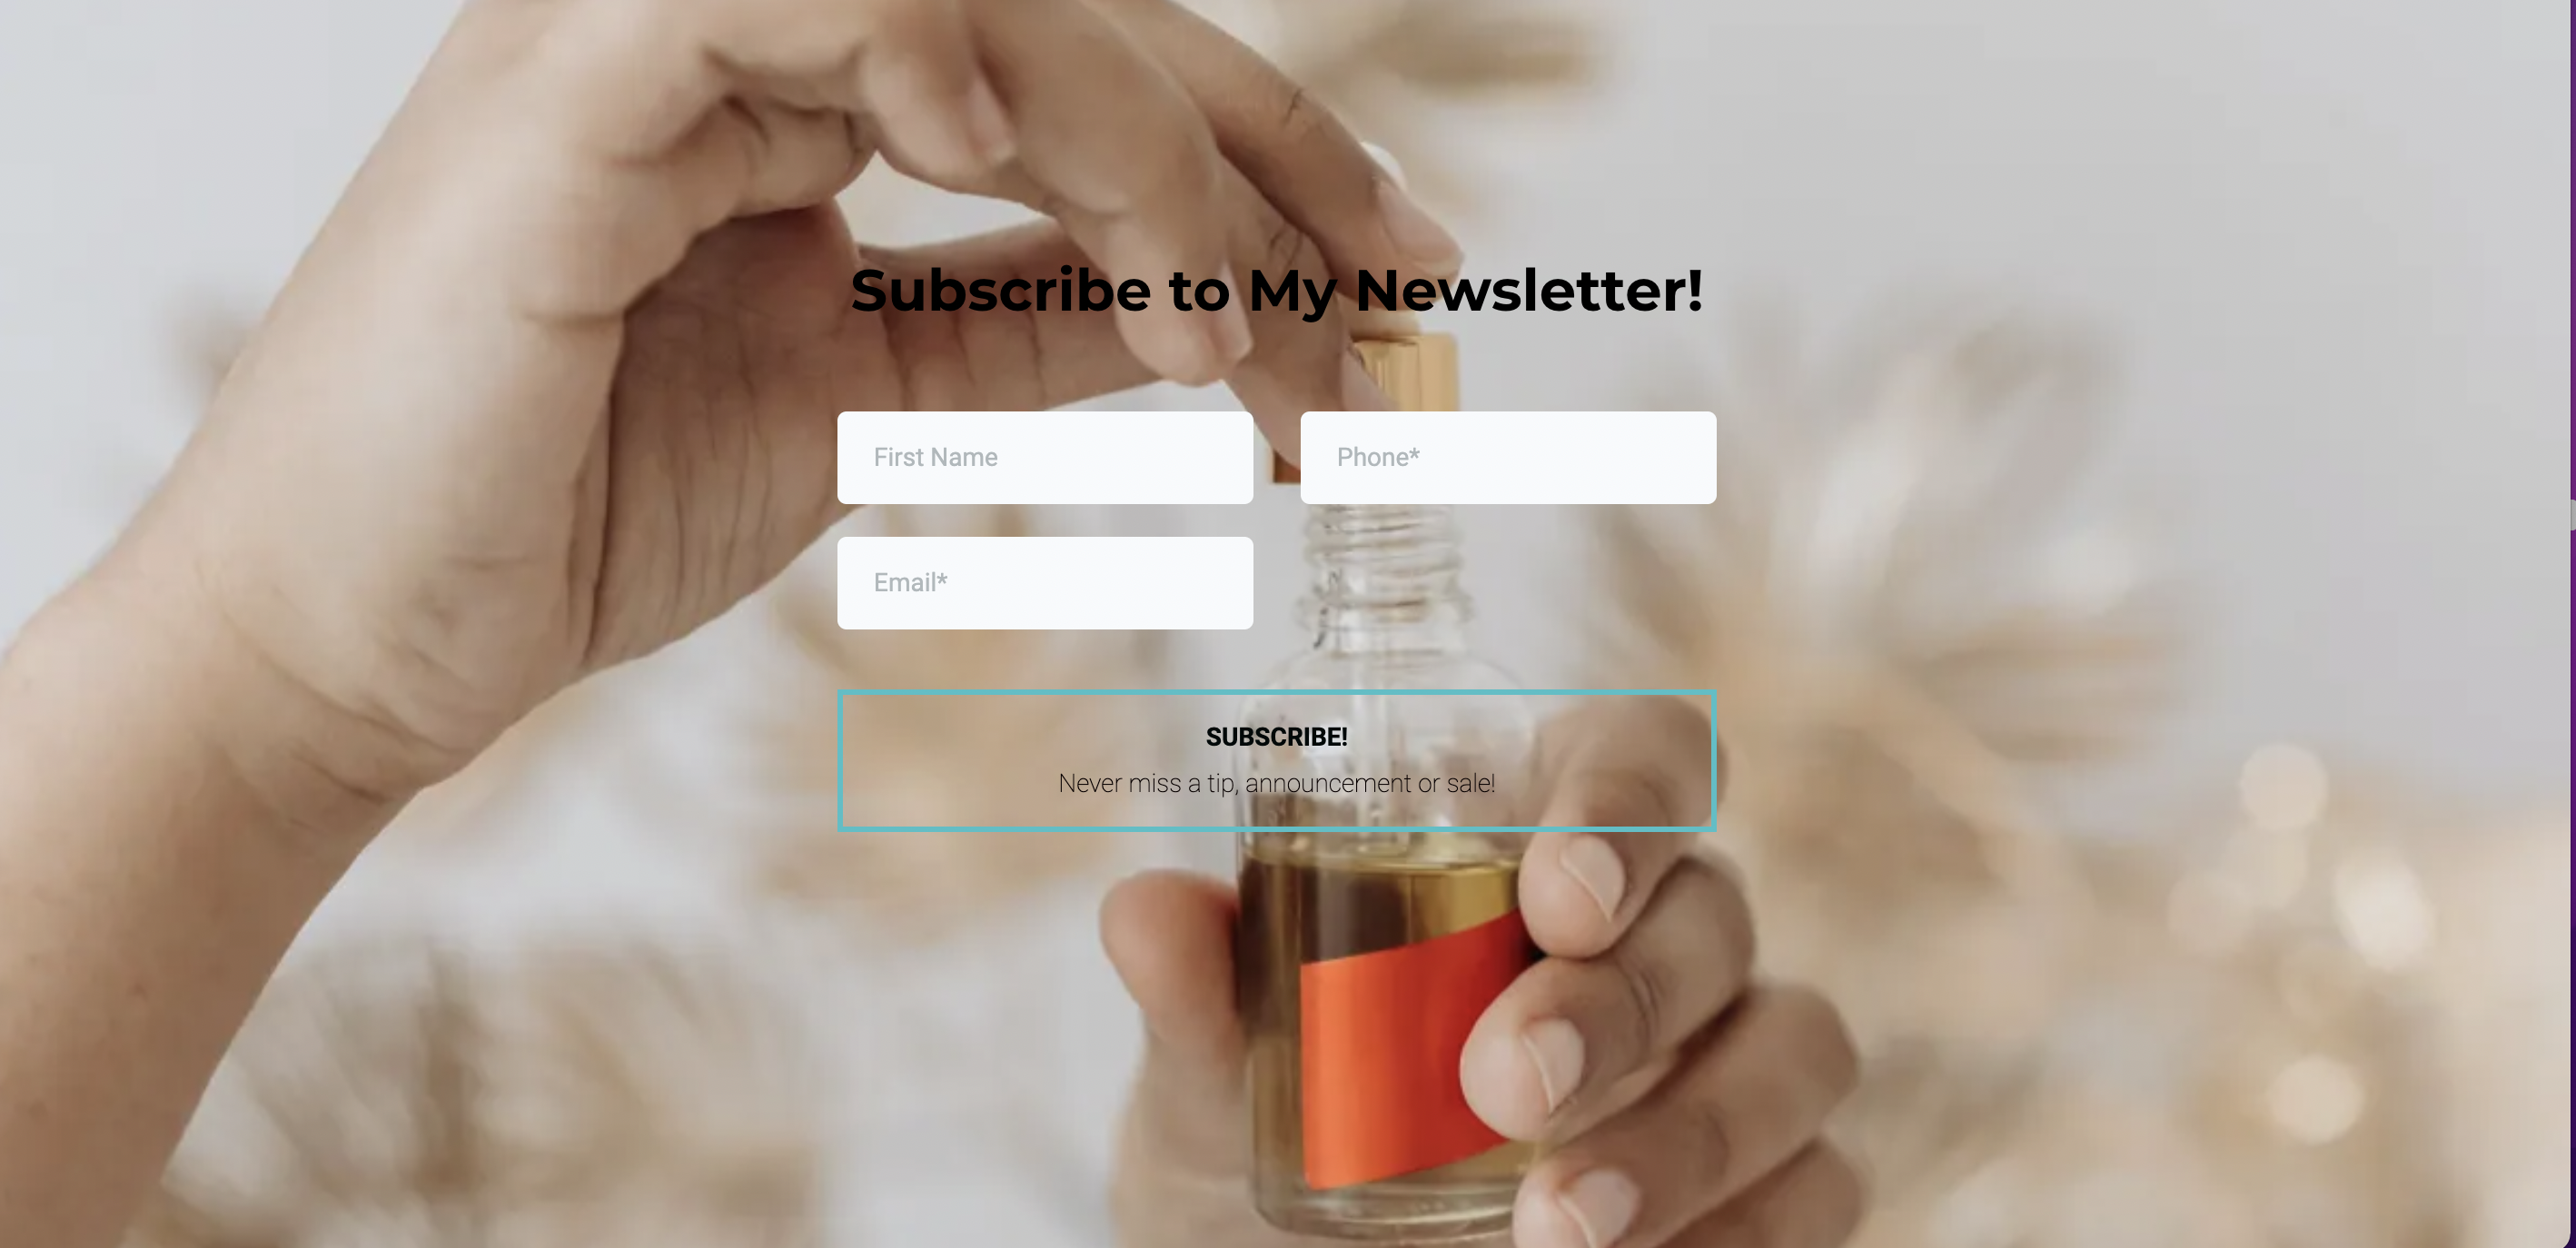
Newsletter Subscription Form

This page is designed to help you grow your email list by allowing visitors to subscribe to your newsletter or emails.
To make it more personal and relatable, we recommend replacing the placeholder photo with your own picture.
The form on this page is linked to a workflow New Email Subscriber that will send the email template Email Subscription Confirmation.
*Head to the Sites Tab and edit the Landing Page in your Websites. Head to the Marketing Tab and find the Email Subscription Confirmation to personalize that email!
The Event Lead Magnet Form
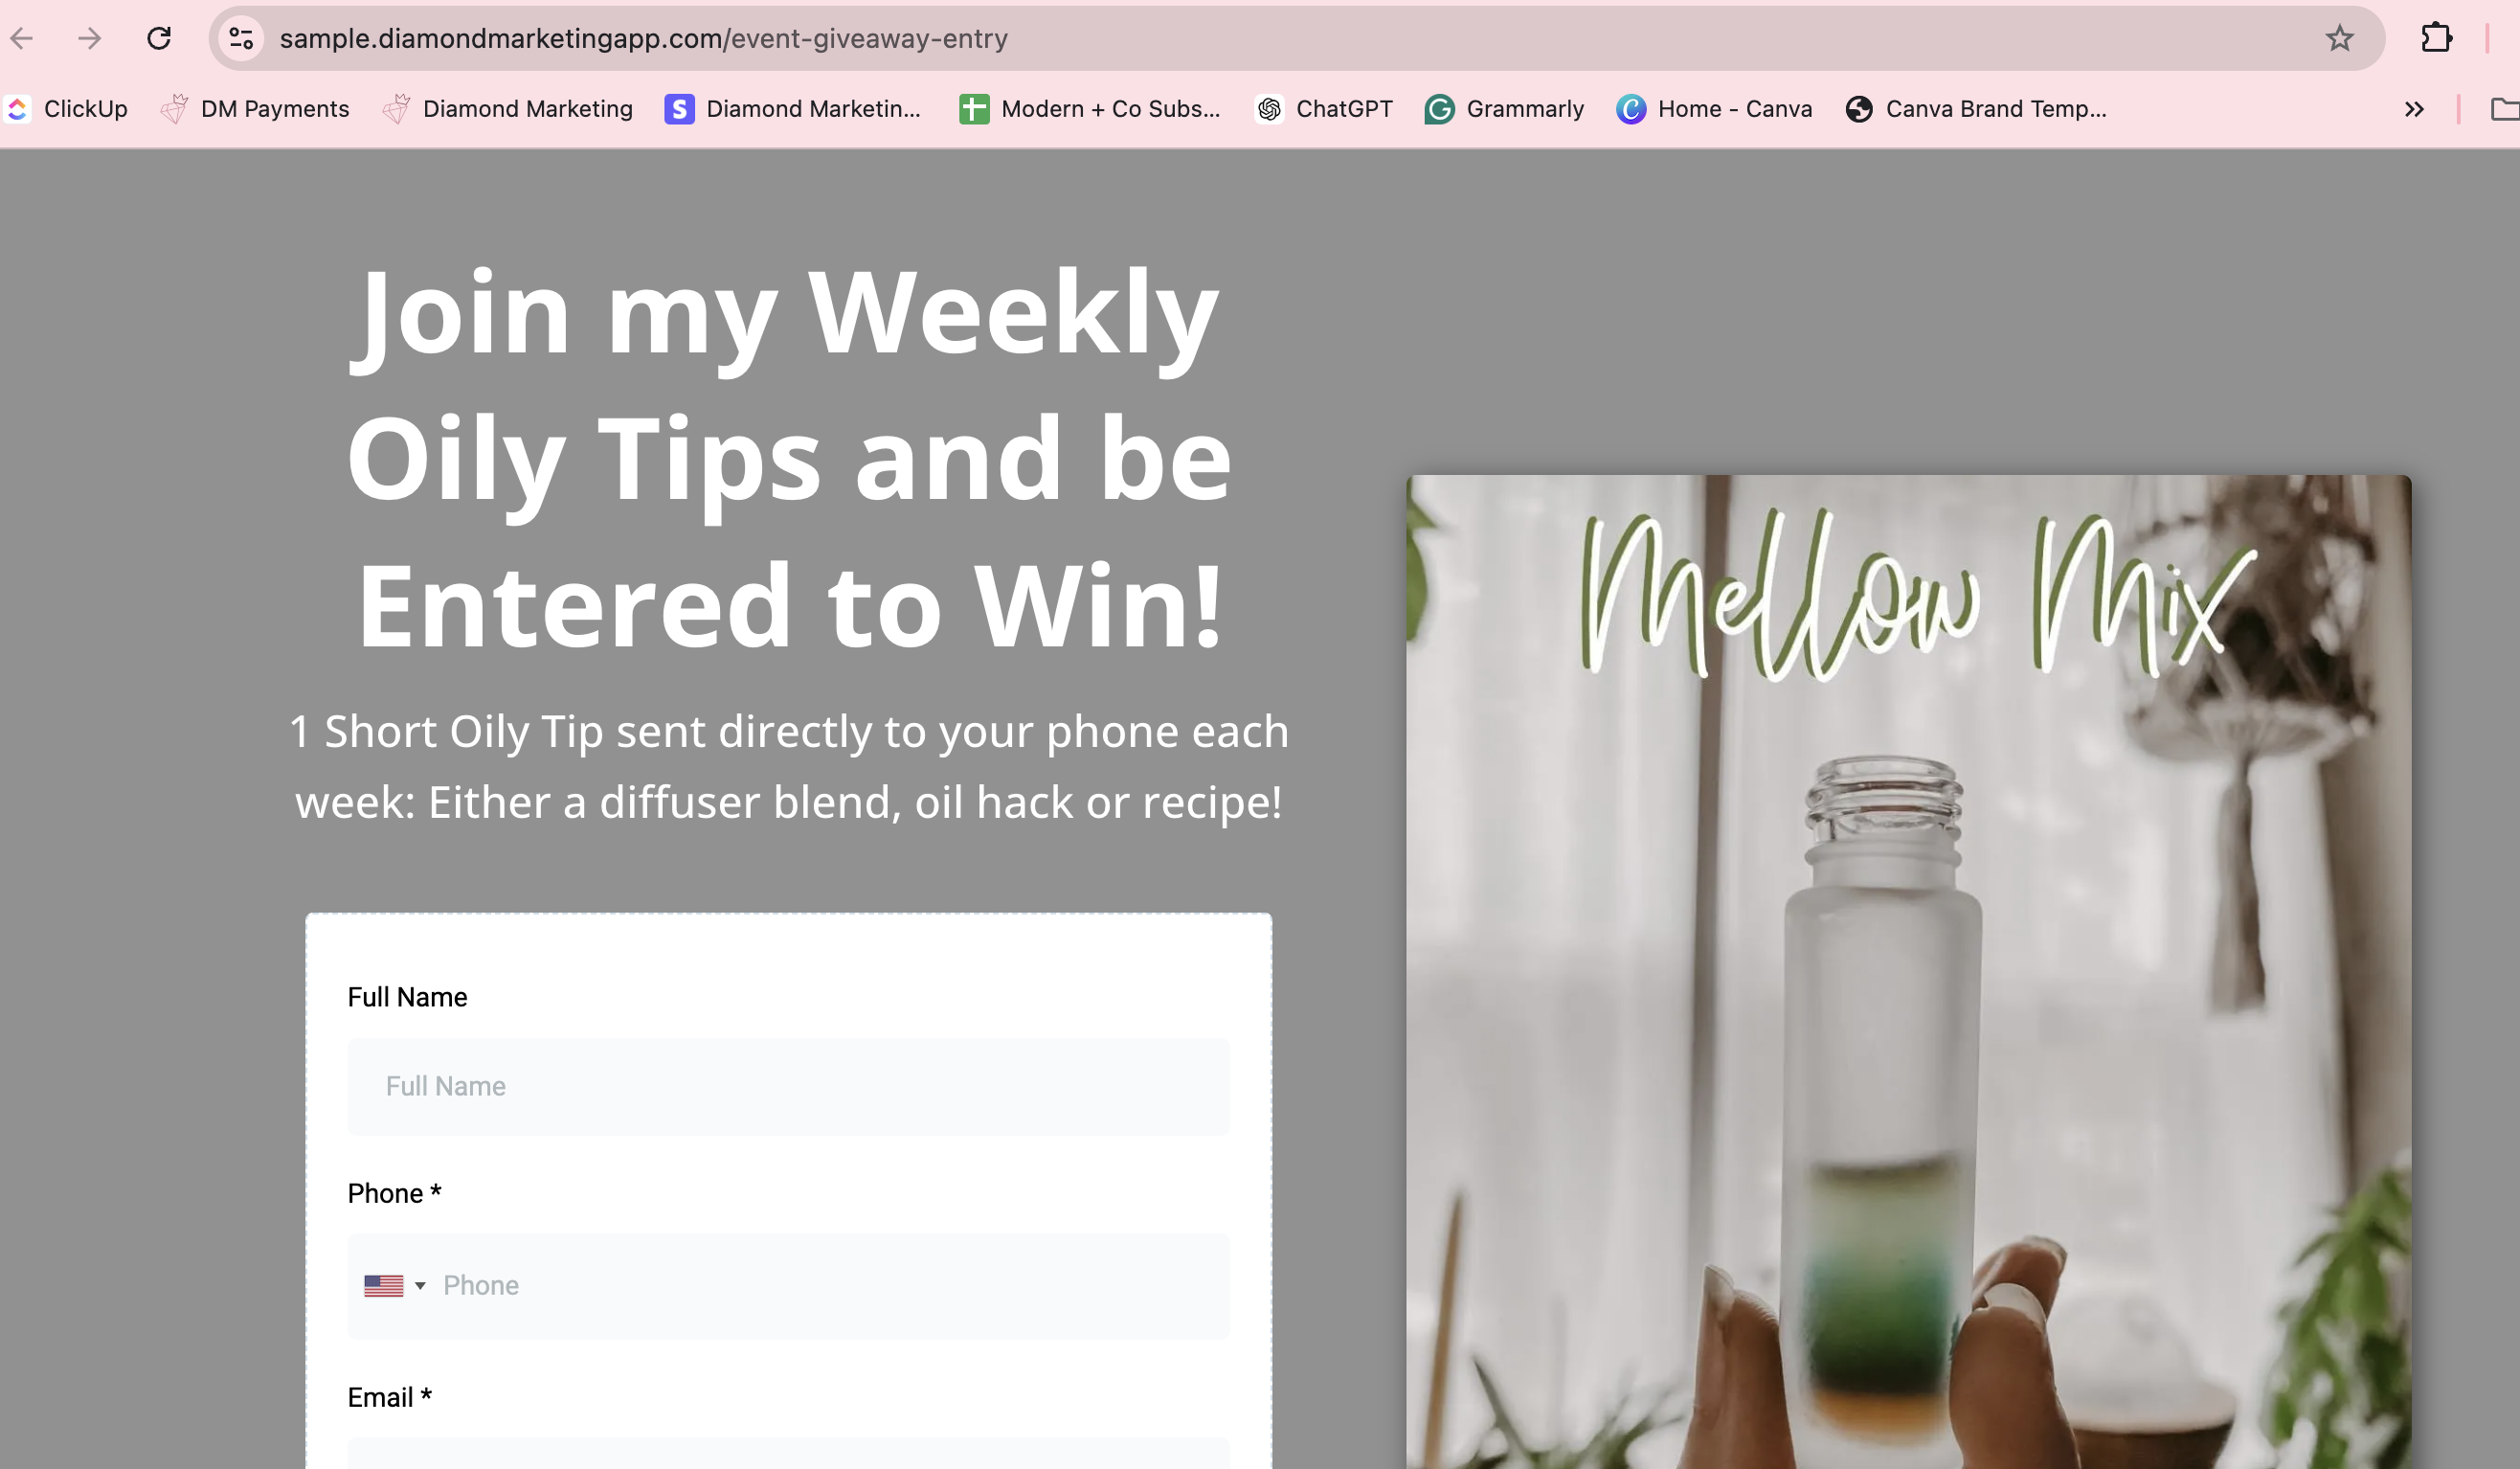
A dedicated event lead magnet webpage with an attached form, making it convenient for your audience to participate in an oily giveaway in exchange for opting into your weekly text tips. (staying in touch with you weekly!)
Capture leads effortlessly by creating a QR code to display at your event. The webpage Event Lead Magnet Opt In is designed to capture your lead's information using the form Event Lead Magnet
that triggers the workflow: In-Person + Vendor Event Lead Magnet. This workflow sends the Weekly Oily Tips, tags them as Event Lead to next trigger the workflow:
In-Person/Event Lead Nurture Sequence that will send the 4-part nurture email series!
The Zyto Scan Form

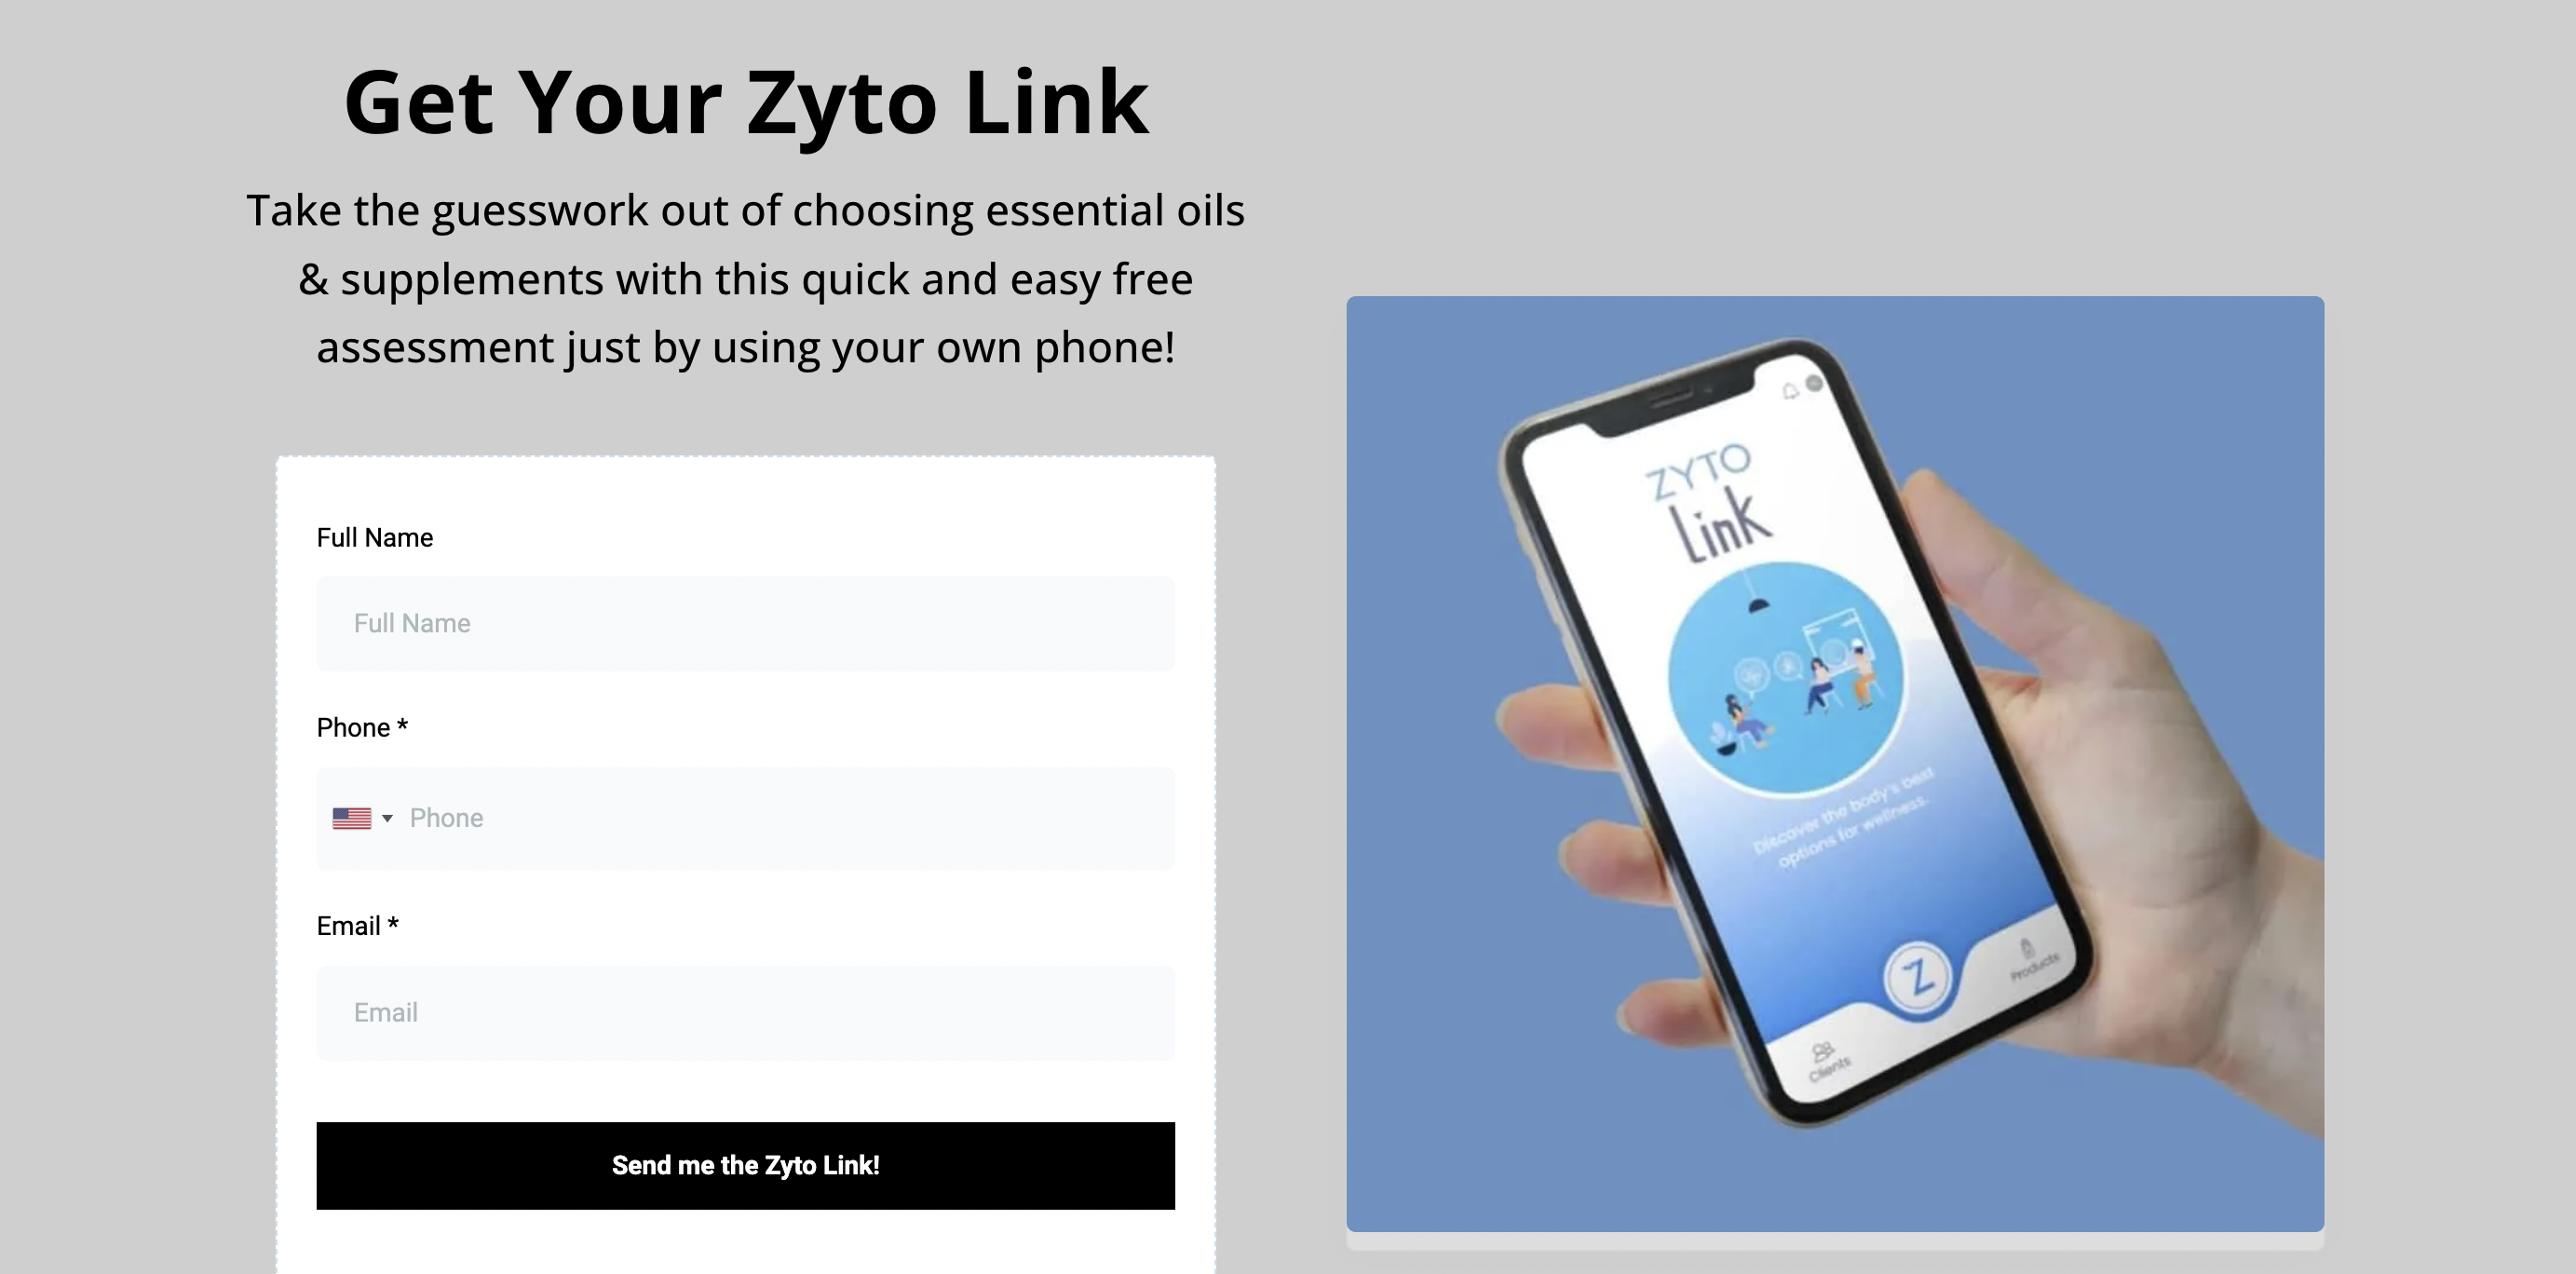
A webpage for easy opt-in to receive an a scan and book a wellness-call with you-perfect for sharing across social media, emails, or during in-person events to draw leads into a targeted wellness plan from you!
The webpage: Zyto Scan + Wellness Call uses the form:
Zyto Link to trigger the workflow: Zyto Scan
which sends your Zyto link and follows up with a link to book a wellness call with you. The workflow tags contacts as 'subscribed' so they are added to your email/newsltter smartlist.
The Health Share Complete Email Guide Form

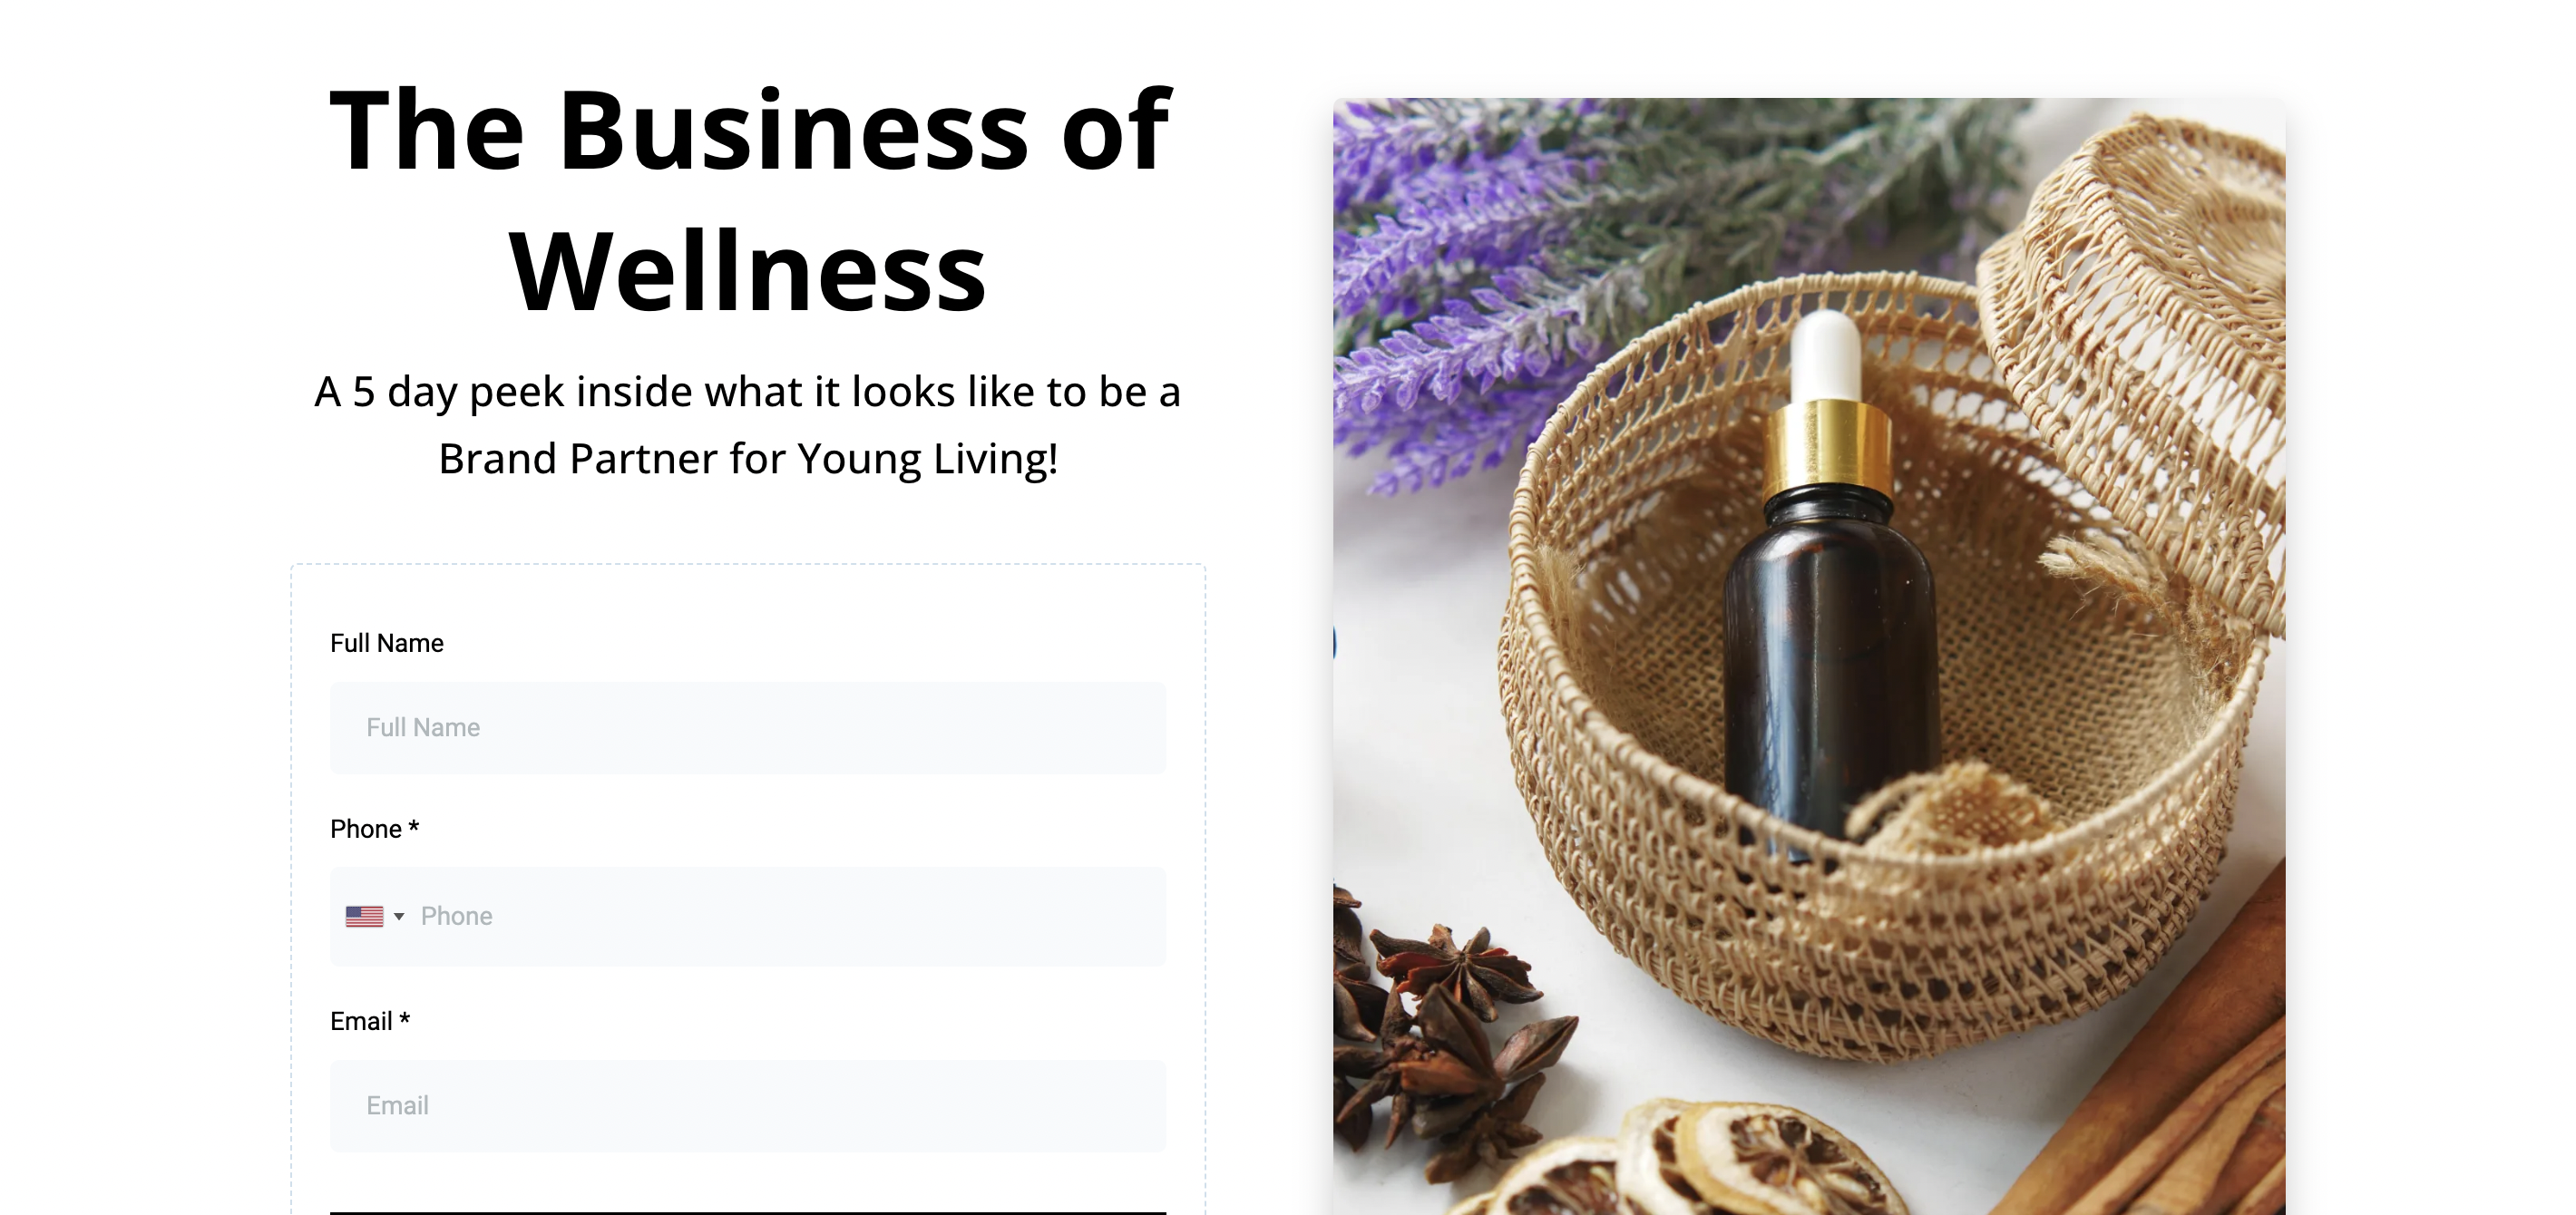
Attract Leads to your Email List! Whether your contacts are curious about what Health Shares are after reading your emails and posts or seeking information on how they can benefit and meet their family's needs, our new Complete Guide Email has you covered!
The webpage: Health Share Complete Email Guide uses the form: Health Share Complete Guide Email to trigger the workflow: Health Shares + Holistic Care Explained which sends the email template: Lead Magnet: Health Share + Holistic Care Explained and tags your contact as 'subscribed' to be added to your newsletter/email smart list!
The 12 Days of Holiday Deals Form

This Lead Magnet form can be shared with your customers in November. When customers fill out the form, they’ll be added to the 12 Days of YL Deals & Gift Guide series and will start receiving all 12 daily emails when the Black Friday Sales launch.
The webpage: Lead Magnet Form uses the form:
Lead Magnet Newsletter Subscribe to trigger the workflow: 12 Days of YL Holiday Deals and Gift Guide CONFIRMATION which sends contacts the email template: Welcome to 12 Days of Holiday Deals + Gift Guide and tags them 'subscribed' to add them to your newsletter/email smart list and 'engaged' so you can filter for engaged contacts in the future
How to Grab Your Form & Webpage Links
Getting the link to your pre-made form is quick and easy! Simply head to the Sites tab, click on Forms in the top menu, select the form you want to use, and hit "Integrate Form." From there, just copy the link and you’re ready to share it via text, email, or post – it’s that simple!

For Leader and Mentor Plans, grabbing the link to your custom landing page with the form already attached is a breeze! Head to the Sites Tab, click on Websites, and scroll to the page you’d like to use. Next, click the Preview Icon and simply copy and paste the preview URL – it’s that easy to share your custom page!
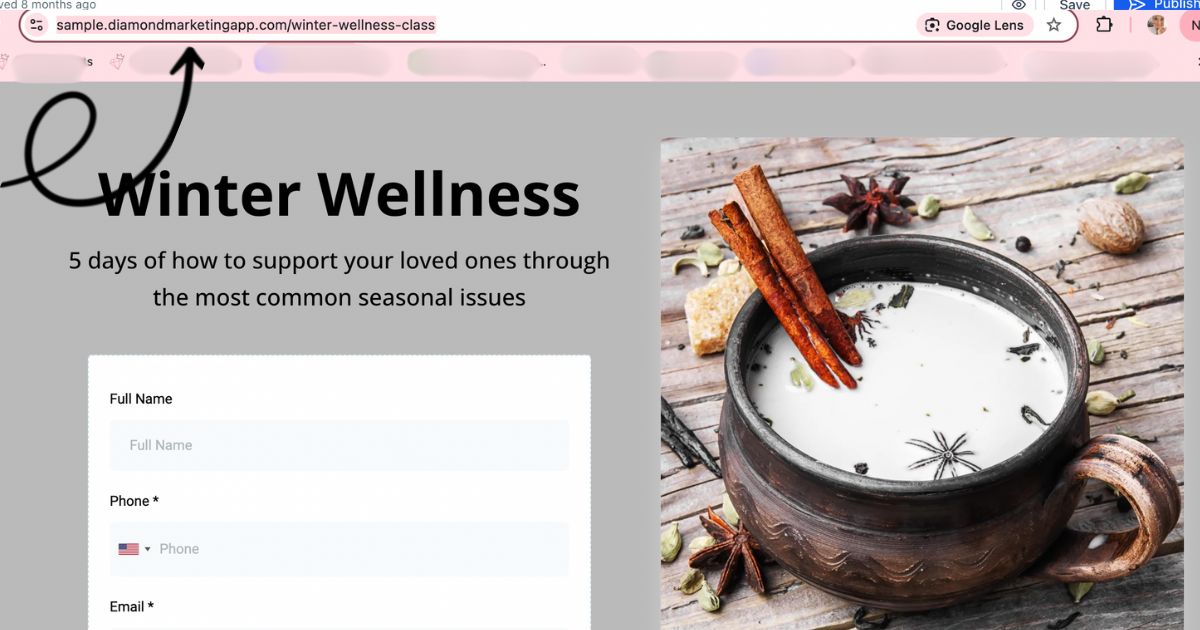
How to Create Your Own Forms, Form Triggers and Lead Magnets!
Step One- Head to The Sites Tab:

Select 'Sites' on the Left Menu
Select 'Forms' and 'Builder' from the top drop down
Step Two- Duplicate a Form Template:

Click on the three dots next to the form
Select 'duplicate'
Step Three- Re-Name The Form:

Add Your Form Name
Select Confirm
Step Four- Edit the Form:

Click the + button in the top left
Drag any elements in that you want to add
Mentor Subscribers can add payment elements when Stripe and Paypal are integrated.
To Edit an Element Within the Form:

Select any element to edit or delete
The editing side will pop up on the right
Click Save after editing
To Edit Buttons:

Select the 'Styles & Options' Icon
Add a message to be used after the form is filled out and then Save the form
This will pop up for contacts after they have submitted the form.
To Grab Your Form Link:
Select 'Integrate' next to the Save Button
Click 'Copy Form Link' and Share
This will not use your domain. To have a link with your domain, you can attach this form to a webpage.
Step One- Clone a Pre-Loaded Page:

Select 'Websites' and then 'Landing Pages'
Select any template with a form and click the three dots and select 'Clone'
Select the 'Clone page in the website'
button
Step Two- Re-Name the Cloned Page:

Select the three dots on the Cloned page Settings'
Select Settings
Re-Name the Page
Re-name the path (can not have any spaces)
Click Update PageUpdate Page'
Step Three- Select Your New Form in the Landing Page:

From inside the new landing page, click on the form element
On the editing side, select your new form from the drop down
Head to this lesson for more tips to personalize the webpage
Click Save
Trigger a Workflow with Your Form:
Step One- Create a New Workflow:

In the 'Automation' Tab, Select '+ Create Workflow' and then 'Start from Scratch'
Step Two- Select Your Form:

Click + Add New Trigger
Search 'Form'
Select 'Form Submitted'

Select 'Filter'
Select 'Form Is'
Search for the form you want
Click 'Save Trigger'
Save the Workflow in the top right of the screen
Step Three- Add Actions to Your Workflow:
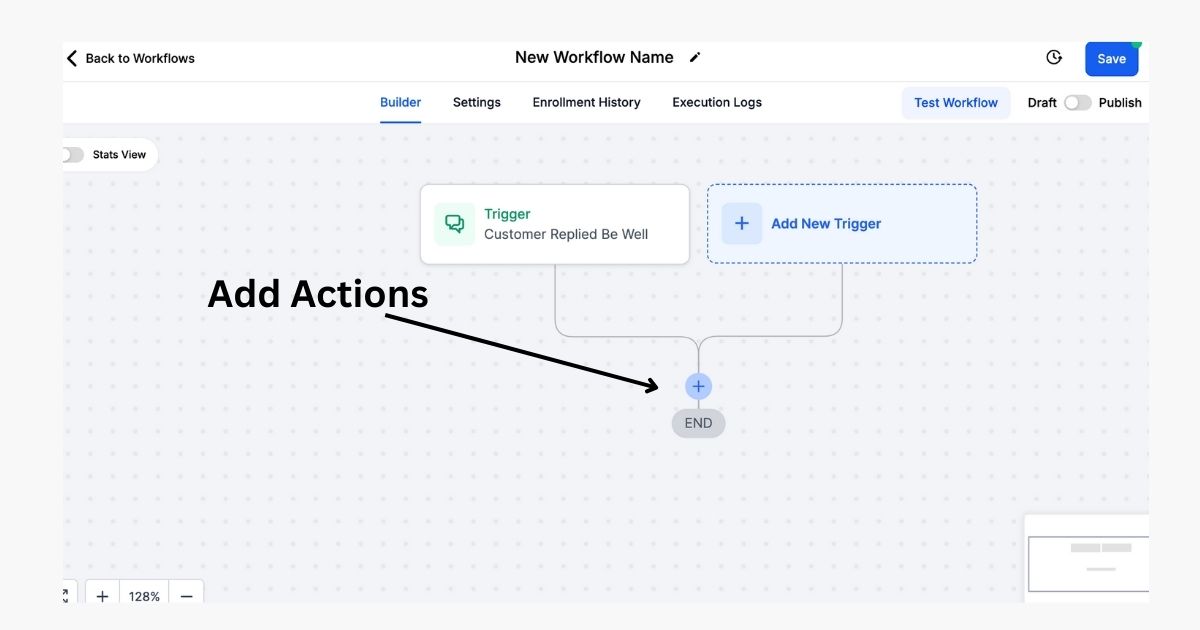
Click + To Add Actions
Select Send Email, Send SMS (text), Add Contact Tag, etc...
The action is the Lead Magnet-an email, a tag to add them to your newsletter/email smartlist, etc
More on which actions to add --> How to Create Your Own Workflows here
You can add the tag 'subscribed' to add these contacts into your email/newsletter smart list.
You can send the New Subscriber Welcome Email (or an email you create that let's them know they are on your list!) in addition to adding then to your smart list.

Diamond Marketing is a customer care platform design for Young Living Brand Partners. All content provided by Diamond Marketing is the property of Diamond Marketing App LLC and cannot be copied or redistributed outside of Diamond Marketing. without prior consent.